9 Speed Drills For Soccer Players To Improve Performance
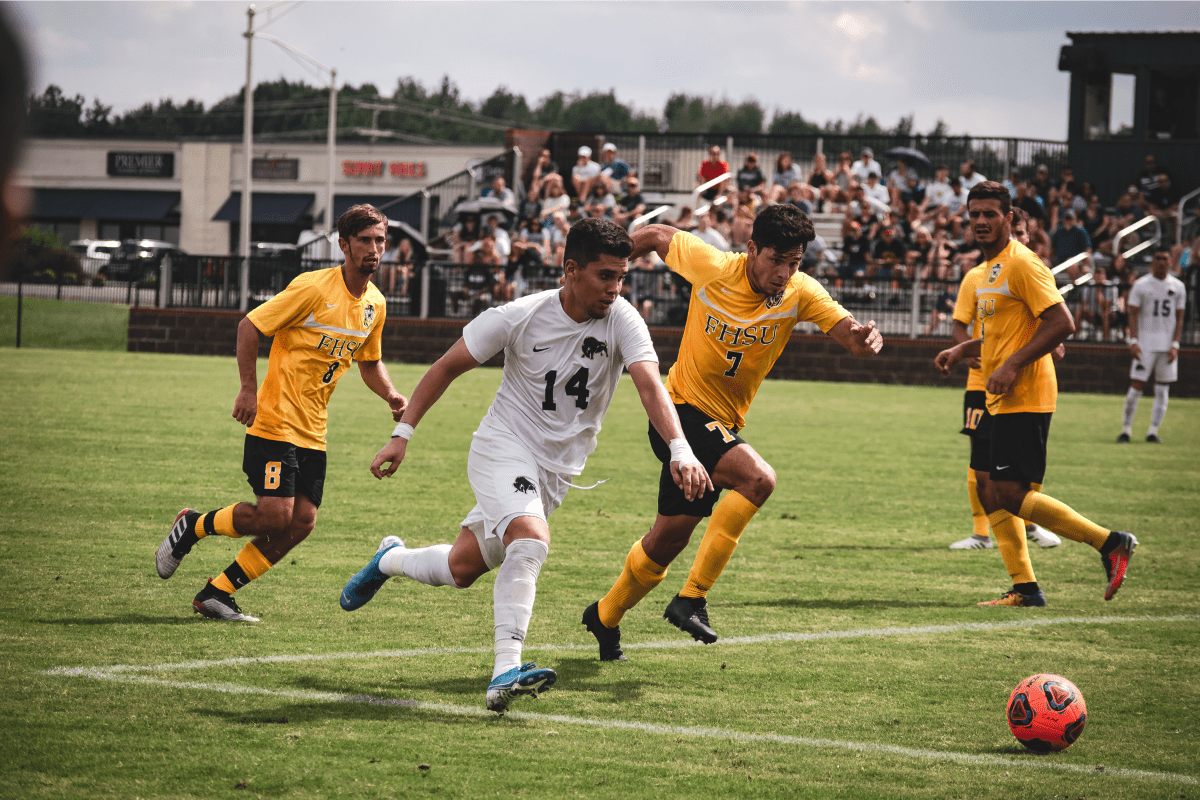
On the soccer field, speed is critical. The difference in a half step can be the difference between a game-winning goal and a clutch save.
It’s why so important for soccer players to train speed and maximize every bit of acceleration and top speed within the player’s ability.
I’ve worked with soccer athletes throughout my career, helping them succeed on the field and preparing them for the next level in their careers.
In this article, I’m going to teach you my 9 favorite drills to improve your soccer speed so you can be prepared to play your best this upcoming soccer season.
This article may contain affiliate links. If you purchase through these links I may, at no extra cost to you, earn a commission.
Speed Mechanic Drills
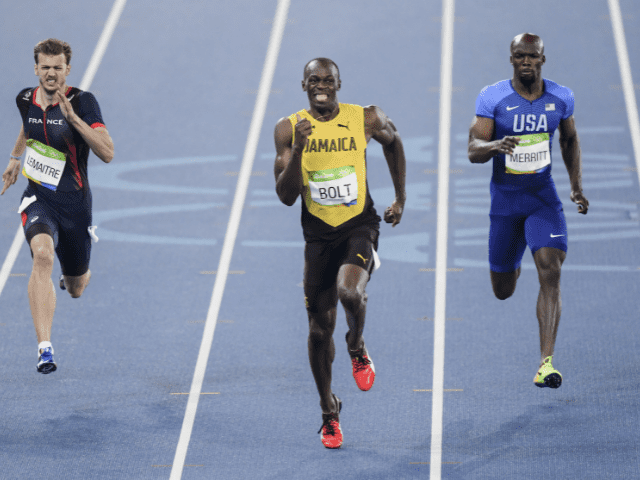
I will start with a few speed mechanic drills that focus strictly on sprinting mechanics. These are drills that I recommend doing once or twice a week in the off-season, immediately after your warmup.
By repeating each speed drill over and over again, you’ll in-grain these mechanics into your sprinting, because you definitely won’t have time to think about your mechanics when you’re in a live game situation.
Seated Arm Swings
This drill focuses completely on the arm swing, something that is often overlooked during sprint training.
Start in a seated position with legs outstretched, feet directly in front of the body. Good posture with chest up tall and eyes focused straight ahead. Arms are relaxed and elbows are held at a 90 degree angle to the shoulder during the entire swing, alternating each arm with each swing.
Keep the hands relaxed and bring them as high as the mouth. As arms go back, turn palms out slightly so that the thumb brushes the hip. Arms should not cross the midline but stay in line with the shoulder.
Start slow, focusing on the path of the arm and then slowly build speed until your arms are pumping so fast that it may even lift your butt off the ground slightly as you drive your arms.
High Knee Running
High knees has three points of emphasis with lower body sprinting mechanics:
Knee up, heel up, toe up.
The knees should drive as high as possible each rep while maintaining a neutral, upright torso.
The heel should drive up so it remains underneath the hamstring.
Finally, the toe should remain dorsiflexed (pulled up).
The arm action should remain consistent just like the seated arm action drill. The body posture will remain vertical – do not lean back since this is inconsistent with proper running form.
This drill is best done in short increments. I like to setup two cones ten yards apart.
Leg turnover should be as fast as possible while maintaining full range of motion. However, make sure to not cover too much ground too quickly. On average, there should be 2 to 3 strides per yard.
This speed drill is very taxing if done correctly so give yourself time to recover in between reps so you can perform each rep with max effort.
A walk back recovery is a good way to get your rest time in without feeling like you’re just standing around waiting.
Once you finish the drill, slowly walk back to first cone, take a few deep breaths and then you can move on to the next rep.
Ham Kicks
This speed drill is almost exactly the same as High Knees with one tweak.
Arm action stays exactly the same, turnover rate stays exactly the same, toe is still dorsiflexed.
Now, instead of focusing on driving the knees up as high as possible, drive the heel of the foot straight up to the top of the hamstring (bottom of the glute).
This helps work the backside leg recovery when sprinting.
Keep this drill ten yards long as well and focus on the speed of the turnover and the volume of reps in the short distance.
Ankling
With the ankle cocked in the dorsiflexed position (toe up) take short quick steps. Bounce from foot to foot so that as soon as the ball of the foot hits the ground, it wants to jump off the surface.
Legs stay relatively straight, the movement is all done through the ankles.
The analogy I like to use here is jumping rope. Pretend to jump rope, but with just one foot at a time, punching the ball of the foot under the hips as you move forward. Arm action should be relaxed and controlled.
A-Skip
A-Skip is an upgraded version of the skip we all did as kids (assuming you skipped as a kid).
Start skipping by lifting up one leg into the knee up, toe up, heel up position.
Now powerfully apply force back into the ground and quickly drive up the opposite leg, working the knee up, heel up, toe up. When the foot strikes the ground, let it bounce off the ground into a ‘skip’.
Work on keeping the body upright and emphasize foot position and arm action.
Do not over stride (cast out or reach forward with the foot) during the drill. The foot should drive the ground in a powerful manner slightly behind the hips. The recovery of the driving leg is a powerful cycling of the foot, with the leg returning to a near parallel (quad to the ground) level.
Acceleration Drills
The majority of plays in soccer comes down to short bursts of speed. The long plays may make the highlight reel, but those are the exceptions not the rule. So, when working to improve soccer speed, most of your work should be in those shorter distances.
The more power you can generate to accelerate quickly the more success you’re likely to see on the soccer field.
Here are my two favorite speed drills to improve acceleration ability.
Sled Pulls
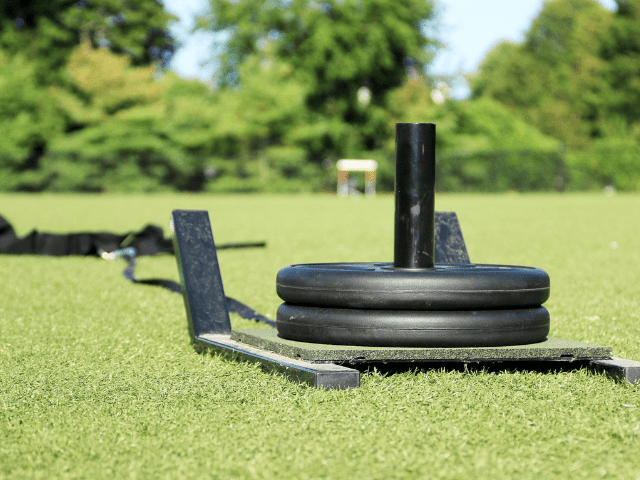
One of my favorite drills to improve speed and train explosive power are Sled Sprints.
For this drill, you’ll need a speed sled. Even if you’re training on your own, you can get a speed sled for less than you might think.
Put on the harness and make sure you’re properly attached to the sled. Make sure that the surface you’re running on is smooth and only use about 10% of your bodyweight. You want to SPRINT with the sled, not drag it behind you while you look like you’re walking through mud.
Walk forward to take all the slack out of the strap connecting you to the sled and then double-check that the sled is in a straight line behind you.
From a standing start, lean forward until you feel like you’re going to fall and then quickly drive one leg up, strike it into the ground and accelerate out.
Maintain good forward lean while driving the driving the knees high, getting triple extension of the ankle, knee, and hip, and applying as much force as possible to the ground through the ball of the foot.
Sprint through the finish line, rest, recover and then turn around and go again.
Incline Sprints
Don’t have a sled? No problem.
Using an incline is another way to add resistance to a sprint without having any extra equipment. The greater the incline the greater resistance that will be placed on the athlete, but it doesn’t have to be a huge incline to be effective.
Start at the bottom of the incline and sprint forward using good technique. Once you reach the top of the incline (or wherever you place your finish line) slowly walk back down to the bottom, rest and repeat.
Maximum Speed Training Drills
One of the best speed drills to focus on top-end speed, or maximum speed, is to simply sprint. Especially after doing either of the resistance drills above.
You always want to finish your speed training by going full speed.
Ins and Outs
One of my favorite top-end speed drills are Ins and Outs. This drill focuses on top-end sprinting mechanics but allows us to do it at full speed.
For this drill, place five cones on the field. The first cone will act as the starting cone, the next cone should be placed twenty yards ahead, the third cone at forty, fourth cone at sixty and the last cone at eighty yards.
Begin by accelerating out and trying to build as much speed as possible through the second cone.
The second twenty yards maintain the speed you built up during the first twenty.
Once you sprint past the third cone you’ll still maintain your speed through the next twenty yards, but focus solely on running with good form. Force being applied to the ground will be less and it may feel like you’re almost floating through this section.
You’re only priority is to be relaxed with perfect mechanics.
The fourth twenty yards try to accelerate again by regaining a slight forward body lean and applying more force to the ground with each step.
Finally, once you sprint through the last cone slowly decelerate and come to a stop.
This drill is especially taxing so make sure to give yourself adequate rest time in between reps. I would recommend a minimum of three minutes between reps for full recovery. Remember that speed training is not the time to worry about fitness. You need that recovery!
Low Hurdle Sprints
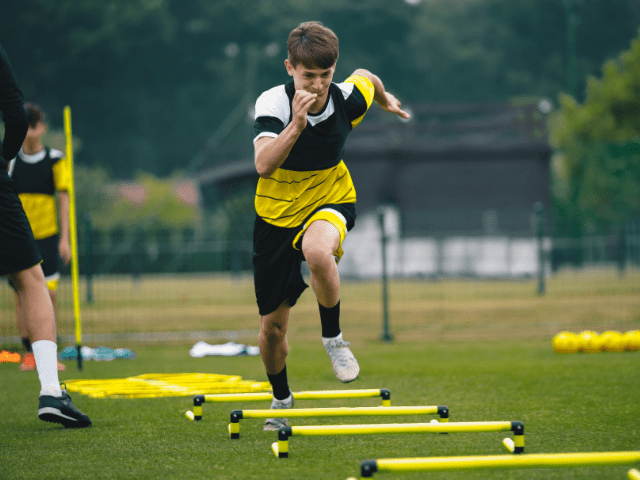
The purpose of this drill is to teach how to drive for speed.
Space low hurdles out on a field, starting in smaller one-yard increments and slowly increasing the distance as you go. I can’t give you the exact distances between each hurdle because it is solely dependent on each athlete’s ability.
The goal of the drill is to cover more distance from one stride to the next by applying more force to the ground and propelling yourself forward.
Do not, I repeat, do not try to reach the foot forward to step over the hurdle as tempting as it may be. Learn to cover more distance by driving for speed.
Speed Training Sessions
Let’s now look at what a typical speed training session would look like.
First, start with a dynamic warmup that should be about 10 to 12 minutes long.
Then, follow your warmup with speed mechanic drills. Reps and sets may look something like:
- Seated Arm Swings 2 x 15 seconds
- High Knees 2 x 10 yards
- Ham Kicks 2 x 10 yards
- Ankling 2 x 10 yards
- A-Skips 2 x 20 yards
After you finish mechanics, move on to your sprint resistance work.
Depending on the emphasis that day, the yards covered could be on the shorter 10 to 20 yards range or the longer 30 to 50 yards range.
The weight should be adjusted based on the distance you’re covering. Shorter distance sled pulls focused on acceleration can have a heavier weight, up to 30% of your bodyweight. However, longer sprints should be limited to 10% bodyweight.
This is to ensure proper mechanics can still be maintained during the reps.
Here are two training session examples, one shorter sprint day, one longer:
- Sled Pulls 4 x 10 yards, 4 x 20 yards
- Sprints 2 x 10 yards, 2 x 20 yards
Or
- Sled Pulls 2 x 20 yards, 2 x 30 yards, 2 x 40 yards
- Sprints 2 x 20 yards, 1 x 30 yards, 1 x 40 yards
If you don’t have a sled, you can substitute incline sprints in place of the sled pull.
Then, as I mentioned before, regardless of what resistance sprint work you’re doing – always finish the day at full speed.
Online Strength Programs
- 1-on-1 Online Coaching
- Sports Performance Programs for Football, Basketball, Soccer & More
- Programs for Former Athletes (Legends) Who Still Want to Train Like Athletes
- Programs for Adults Who Want to Get Healthy (and look great at the beach!)
- Use Code “HB10” to Get 10% Off Today
Final Thoughts
Speed is the deciding factor in winning any loose soccer ball on the field, finishing that breakaway or being able to recover if you find yourself out of place. Training soccer speed should be treated with the same priority as dribbling skills or agility drills.
By improving your mechanics and becoming more powerful and explosive, you’ll be able to improve your soccer speed and notice a big difference once you hit the field.

