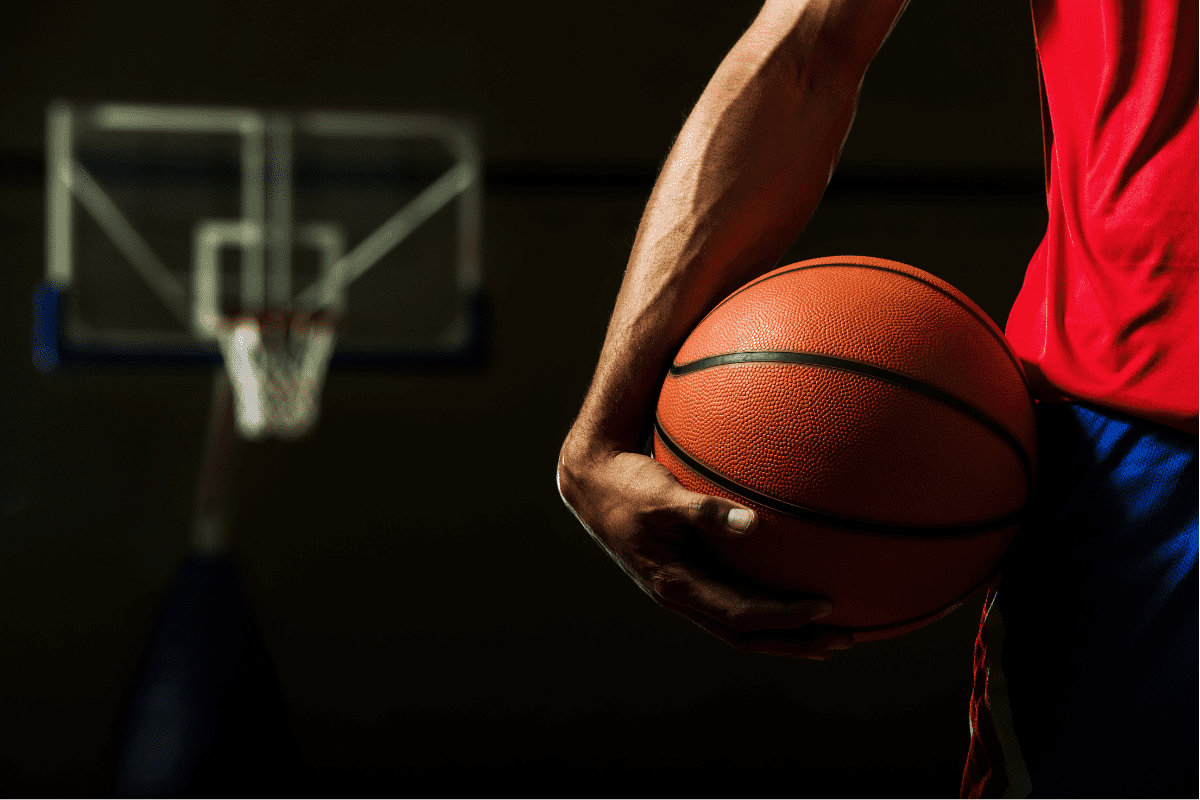
10 Best Upper Body Exercises For Basketball Players
Having a strong and powerful upper body is more important for basketball players than most give it credit for. Having a powerful upper body will help you be able to win position on the court more often and help you finish plays at the rim.
Intelligent upper-body training will also help basketball players be more resilient to injury.
You need to consider your shoulders, elbows, and wrists in every movement that you perform. Upper body training for basketball is not about getting jacked up like a bodybuilder. Training the upper body for basketball should be about functionality that will directly carry over to the court.
And functionality doesn’t mean standing on one leg on a balance ball doing a single-arm cable press while juggling tennis balls. What it does mean is utilizing total body compound movements whenever possible to develop power and strength.
I’ve been working with elite athletes for over 20 years, and in this article, I will be sharing my 10 favorite upper body exercises for basketball, why I like each one and instructions on how to do them.
Basketball Upper Body Exercises
Push Press
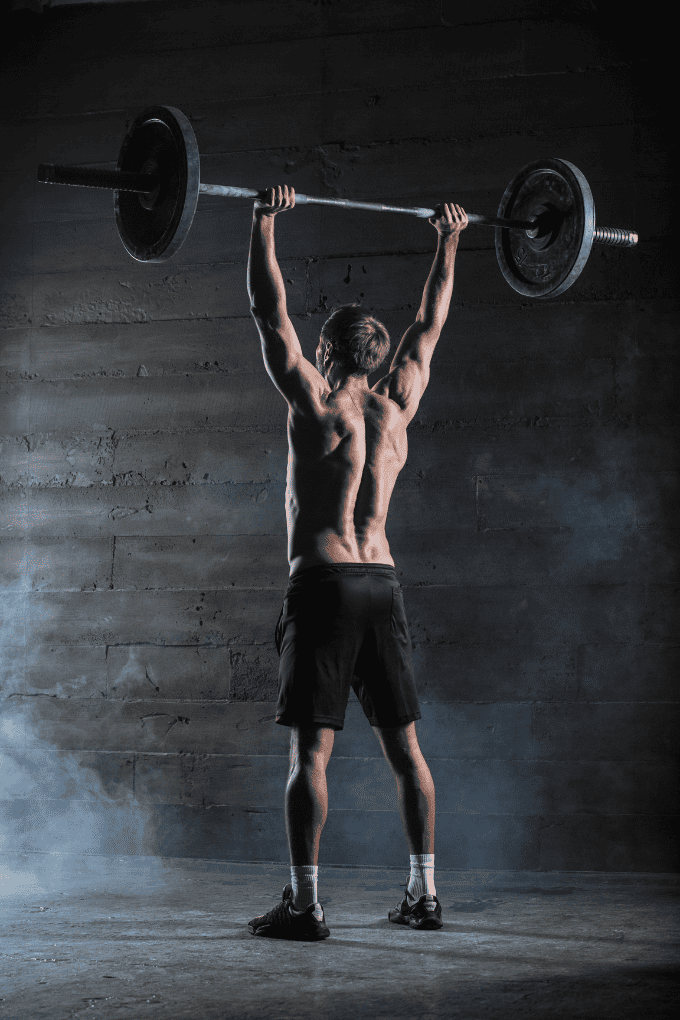
I’m a big believer in utilizing the Olympic lifts to develop power with athletes.
The Push Press requires coordinating the hips, core and shoulders to generate power and drive the weight overhead. An upper body lift that can help improve your vertical jump? Why wouldn’t it be first on the list?
Pro Tip: If you’re not comfortable with the technique, you can do the exact same movement with a medicine ball instead (Med Ball Power Jerk).
Step-by-Step Instructions
- Bar Setup: Place the barbell on a rack at chest height. Stand facing the bar.
- Grip and Position: Grip the bar slightly wider than shoulder-width. Unrack and position it at shoulder level.
- Starting Stance: Stand with feet shoulder-width apart, knees slightly bent.
- Dip: Bend your knees slightly, keeping your torso upright.
- Drive: Explosively extend your knees and hips, transferring the power to the barbell.
- Press: While maintaining momentum, press the barbell overhead until your arms are fully extended.
- Return: Lower the bar back to the shoulders, controlling the descent.
Coaching Points
This lift is very technical, uses the whole body, and requires patience and persistence. Never sacrifice technique to add more weight to the bar.
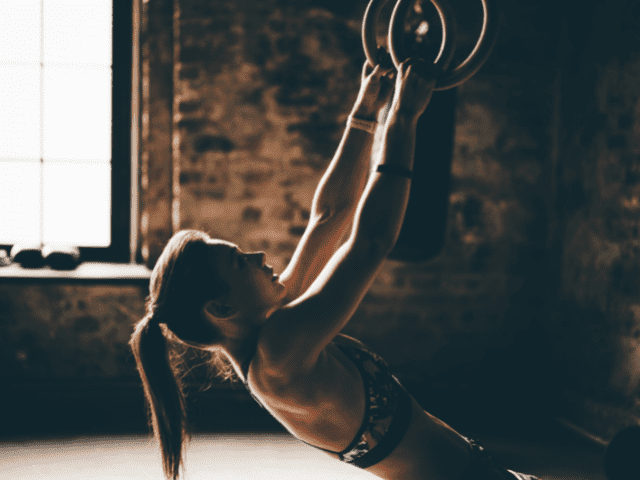
Pull-Ups
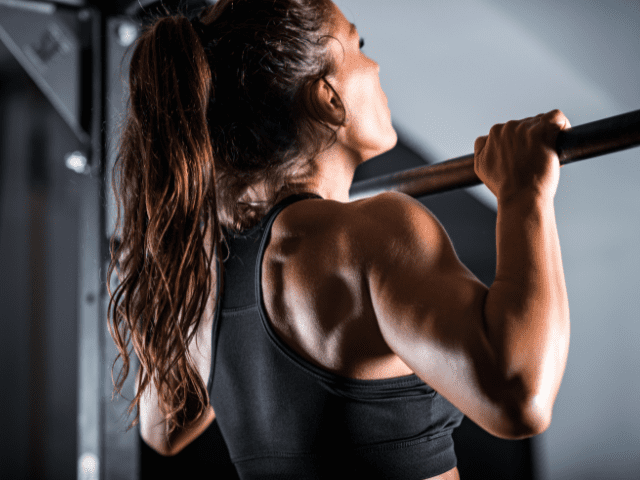
Pull-Ups are one of my favorite upper body exercises for almost any athlete (almost any human being really) and this is true for basketball players as well. They are amazing at developing strength, can be done by all players – from LeBron to a sixth-grader – and require zero equipment.
If you’re a basketball player, you should be doing Pull-ups at least once a week in my opinion.
Step-by-Step Instruction
- Approach the pull-up bar and grab the bar with a pronated grip (palms facing away).
- Squeeze the bar and engage the core muscles and do not cross your legs.
- Engage the upper back and pull up until your chin is over the bar.
- Pause for 1 second with your chin over the bar.
- Slowly lower yourself back to the starting position.
Coaching Points
Take your time and master the pull-up. The benefits of doing sound pull-ups will pay dividends for your shoulder health and the potential to maximize your upper body strength.
Bench Press
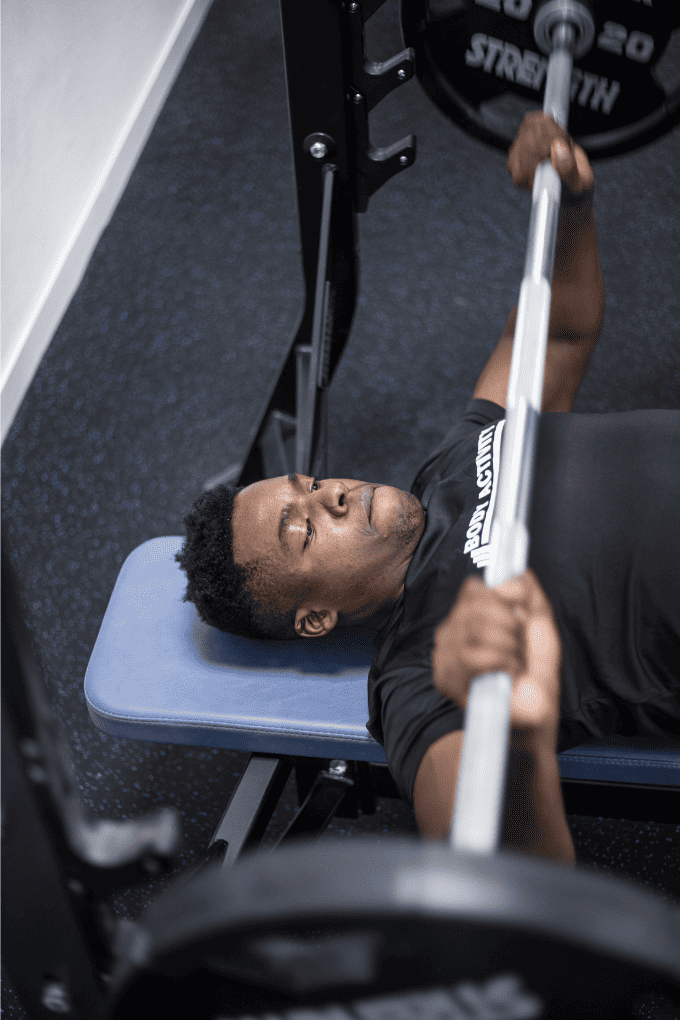
Almost every athlete’s favorite lift, the Bench Press is one of my favorite lifts as well. At the end of the day, Bench Press is still one of the best compound movements for building upper-body strength.
Step-by-Step Instructions
- Set the barbell on a bench press rack and load it with the desired weight.
- Lie on the bench with your eyes directly under the bar. Plant your feet flat on the floor.
- Grasp the bar with hands slightly wider than shoulder-width, palms facing away from you.
- Lift the bar off the rack and position it above your chest with arms fully extended.
- Lower the bar to your mid-chest, keeping your elbows at a 45-degree angle.
- Push the bar back up to the starting position, fully extending your arms.
- Safely return the bar to the rack.
Coaching Points
Do not let the elbows flare out away from the midline. The shoulders are incredibly vulnerable in these positions and the sheer force placed on the shoulders will lead to injury if the technique is not made a priority.
Inverted Row
Whenever possible, I like to incorporate challenging bodyweight movements into a basketball player’s upper body workouts (4 out of the 10 exercises listed here are bodyweight oriented).
Inverted Rows are a great example of this. I also like Inverted Rows because they are so easily modified depending on the strength of the player. Need to make them easier? Bend the knees. Harder? Elevate the feet or add weight to the chest.
Step-by-Step Instructions
- Position a barbell in a squat rack at waist height or use a Smith machine. Ensure it’s secure.
- Lie under the bar, grasping it with an overhand grip, hands slightly wider than shoulder-width.
- Ensure your body forms a straight line from your heels to your head. Engage your core and glutes.
- Pull your chest towards the bar, squeezing your shoulder blades together.
- Get as close to the bar as possible, maintaining your body alignment.
- Control the descent, extending your arms and returning to the starting position.
Coaching Points
There are two common mistakes that I see all the time when it comes to Inverted Rows.
One, is my athletes love to either pull their face to the bar or even raise their chin up and over the bar like a pull-up. These are both wrong.
You should think of the Inverted Row as a reverse bench press. Keep your head back, chest out and pull your chest directly to the bar. Pull the shoulder blades down and back at the top of the rep and squeeze the back.
The second mistake I see all too often is tired athletes who start to look like they’re doing the worm. They start rocking and rolling their entire body to try to get their chest up to the bar. Don’t do this! Maintain a rigid body posture and continue pulling yourself as high as you can each rep.
Push Ups
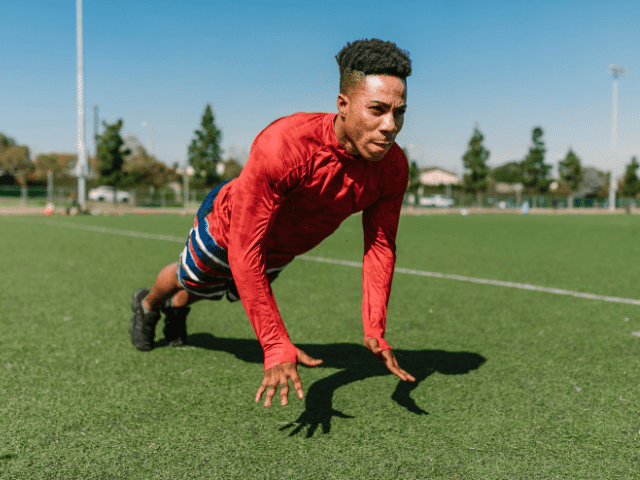
Push Ups get a bad wrap sometimes because they’re looked at as, well, too basic. The fact is, though, there are very few exercises that are as effective at building upper body strength as Push-ups.
They’re another bodyweight exercise that is easily modifiable based on the player (like the clapping push-ups pictured above). And basic or not, I can guarantee you that a basketball player that can do multiple sets of 25 quality push-ups, is strong enough to compete on a basketball court.
Step-by-Step Instruction
- Starting Position: Begin in a plank position, hands slightly wider than shoulder-width apart, and feet together or slightly apart. Your body should form a straight line from head to heels.
- Descend: Bend your elbows, lowering your body towards the floor while maintaining a straight spine.
- Bottom Position: Get as close to the floor as possible without touching it with your chest.
- Push Up: Extend your elbows, pushing your body back to the starting position.
Coaching Points
Take your time and master the push-up. The benefits of doing sound push-ups will pay dividends for your shoulder health and the potential to maximize your upper body strength.
Keep the elbows at a 45-degree angle. For maximal chest, shoulder, and rotator cuff engagement, do not let the elbows flare out away from the middle. Also, do not let the elbow hug right next to the torso.
Renegade Row
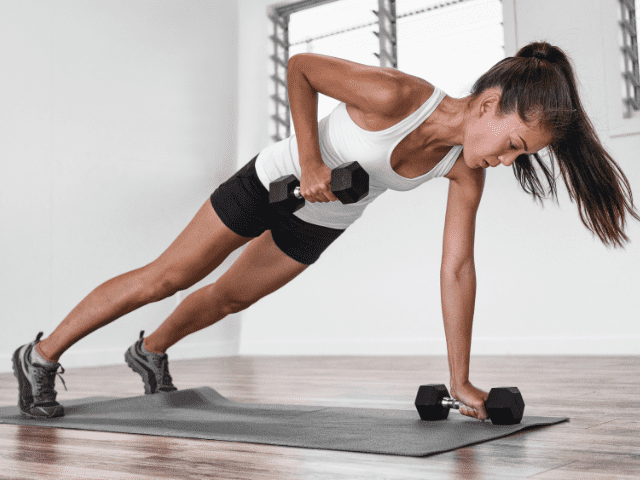
Renegade Rows is an excellent back and biceps exercise that challenges the core so much that it’s also one of the most effective core exercises you can do. In fact, very few exercises challenge the entire body quite the way Renegade Rows do.
Being able to brace and still apply strength translates perfectly to the court. As an added benefit, Renegade Rows also aids in developing shoulder stability while holding yourself up on the opposite arm.
Instructions
- Grab one dumbbell in each hand and assume a pushup position with feet about shoulder width apart.
- Make sure the core is braced and row one dumbbell up.
- Lower the dumbbell under control and return to the starting pushup position.
- Alternate rowing each arm until all reps are completed.
Coaching Points
Try to limit rotating the torso as much as possible. It’s natural to want to open the torso toward the side of the arm you’re rowing with – try to fight against this and stay as square as possible.
The wider your feet, the easier it is to stay balanced while you perform the movement. Try to keep feet about shoulder-width apart.
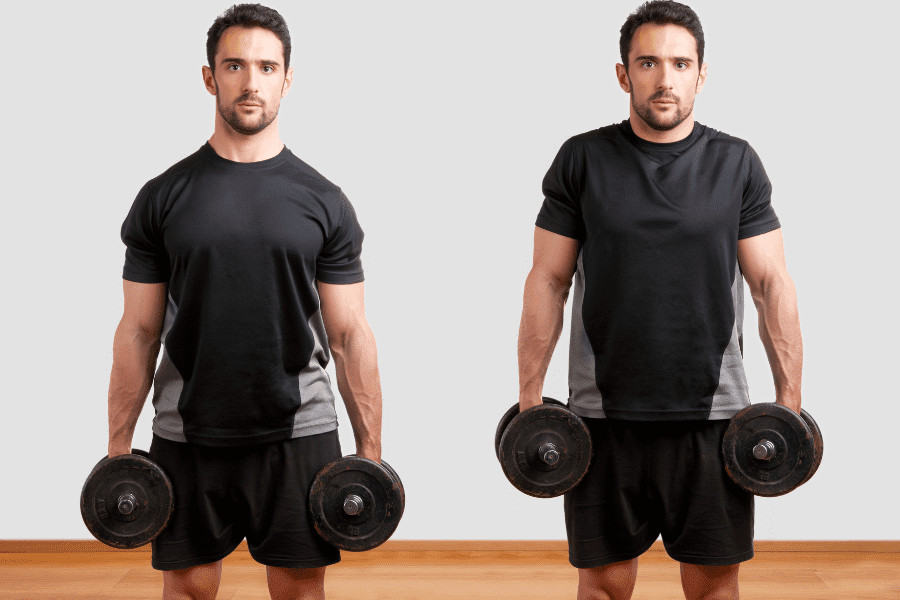
Dumbbell Curl and Press
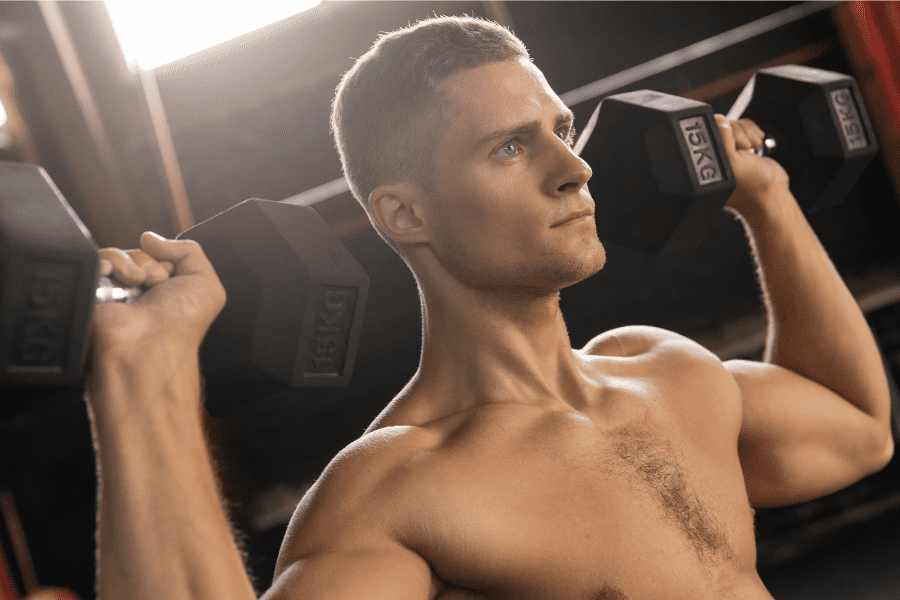
Dumbbell Curl and Press is a combo movement, pairing Dumbbell Curls and Dumbbell Shoulder Presses into one movement.
Yes, you could make the comparison that the movement looks the same as a post player powering up to the basket, but that’s not the reason I like it. The movement makes multiple muscle groups (including the core) work in a coordinated fashion and that is the true meaning of functional strength.
Step-by-Step Instruction
- Grab dumbbells that you can perform at least 8 perfect reps with here.
- Standing nice and tall, hammer curl the dumbbells up to shoulder height.
- From here, press the dumbbells straight up overhead to lockout.
- Slowly bring the dumbbells back and down to shoulder height.
- From here, slowly return the dumbbells to your side.
Coaching Points
Go slow! Time under tension is key here. Feel the burn, especially on the way back down.
It’s easy to get out of control and begin swinging dumbbells all over the place with Curl and Presses. Stay in control of the weight throughout.
Dumbbell Shrugs
Dumbbell Shrugs are on here because they are one of the most effective exercises for building neck strength. This is an often overlooked, but very important part of any athlete’s training, including basketball players.
Depending on what equipment you have access to I would also include a 4-way neck machine and manual neck strengthening exercises as well.
Step-by-Step Instructions
- Grab a pair of dumbells, one in each hand
- Place feet hip-width apart, brace the core and stand tall
- Now shrug up, visualizing touching your traps to your ears.
- Do NOT ‘roll’ the shoulders. Shrug straight up and straight down.
- Keep good posture. Do not let the shoulders slouch forward during the set.
- Control the weight back down to the starting position and repeat.
Coaching Points
Shrugs already have a short range of motion. Don’t shorten the range of motion even further by grabbing more weight than you can properly lift. (A mistake I see quite often)
Medicine Ball Side Throw
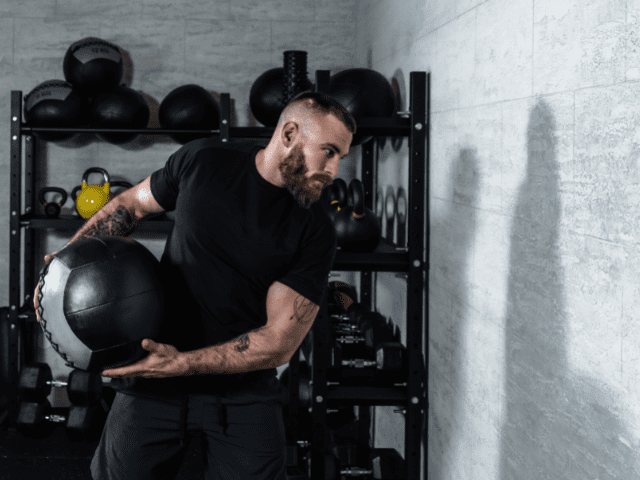
Like Renegade Rows, Medicine Ball Side Throws are as much a core exercise as an upper body exercise, but I think they’re too important to leave off this list.
Rotational power is incredibly important in the game of basketball and Med Ball Side Throws are one of the best movements for developing rotational core power. So, whether you consider side throws an upper body exercise or a core exercise, it’s one that should be part of your training.
Step-by-Step Instructions
- Grab a medicine ball and stand perpendicular to a sturdy wall*.
- Distance away from the wall will vary based upon the type of medicine ball you have**.
- Stand in a good athletic position, feet shoulder width apart, hips and knees bent.
- Begin by rotating away from the wall, reaching the medicine ball toward the back hip.
- Now, aggressively rotate toward the wall, turning on the ball of the back foot, opening the hips toward the wall and releasing the ball into the wall.
- Catch the ball off the ball, reset and repeat.
Coaching Points
The biggest mistake I see athletes make is using their arms (and not their hips) way too much to throw the ball. Power for the throw should primarily come from rotating the hips and torso and the arms should be secondary.
*If you have a partner, you can throw to each other instead of into a wall.
**If you have a hard rubber medicine ball then be prepared for the ball to bounce a good way back off of the wall. If you have a soft Dynamax-type medicine ball then you can stand much closer as the bounce off the wall will be much less.
Dips
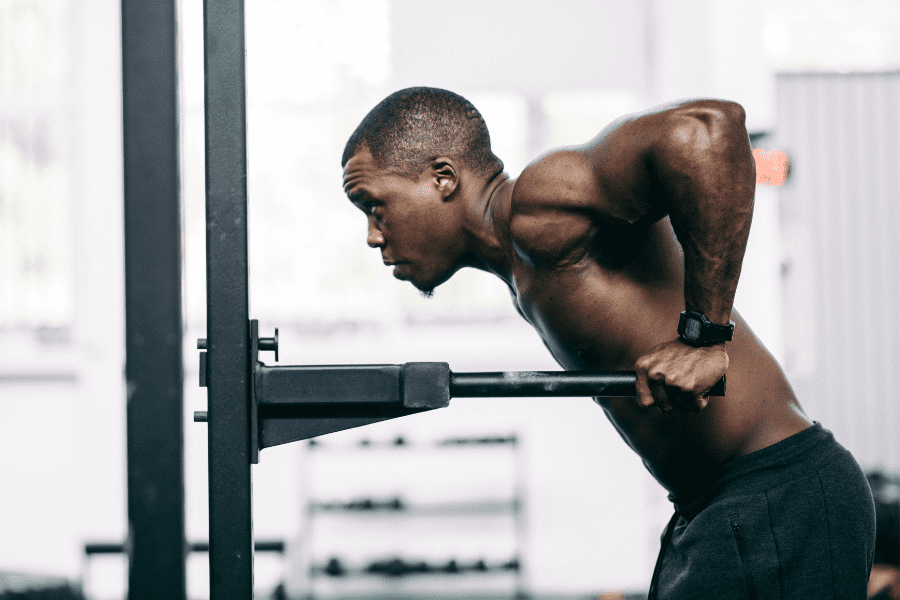
I couldn’t possibly do a list of upper body exercises for basketball players and leave off Dips. Dips, along with Bench Press and Pull ups, are one of the three most effective exercises at building upper body strength.
They also happen to be another one of the bodyweight exercises that I like so much. I’ve worked with basketball players who couldn’t do a single Dip without assistance when I started working with them. Once they could do a set of 10 it was like they were a different person – a stronger, more confident person.
Step By Step Instructions
- Attach your dip rack to your rack. (Follow the manufacturer’s instructions closely.)
- Set your dip rack just above waist height. This will allow enough room for your feet not to hit the ground while doing reps, but not so high you feel you have to jump up into your first rep.
- Starting position is hands on bars, arms extended, knees slightly bent and feet crossed (crossing feet is optional but does help with unwanted swinging in my experience.
- Descend down by bending the elbows and slightly leaning forward.
- Lower yourself under control until the triceps become parallel with the ground and then drive yourself back up to the starting position.
Coaching Points
The biggest mistake I see with dips is poor range of motion. If someone is struggling to be able to do reps, the easiest solution is to simply not lower yourself into a full rep, but this is incorrect. If a lifter cannot perform a full rep, grab a resistance band or a partner for assistance.
The other issue I see my athletes run into is unwanted swinging front to back while doing reps. Stay under control, keep a consistent rep path, bend the knees and cross the feet. These are all solutions that I have seen help eliminate swinging while doing Dips.
Need a Training Program?
Coach Horton has 20 years of experience training elite level athletes at schools like the University of Tennessee and Georgia Tech. He has also written plenty of programs for other coaches and friends and family.
So, whether you need a program to improve your performance in your sport or you just want to look good at the beach, there is a program designed just for you.
Final Thoughts
Are these the only 10 upper body exercises I use when training basketball players? Of course not. There are dozens if not hundreds of exercises that can be used to develop upper body strength.
These are simply some of my favorites and ones that I use over and over again in my basketball strength programs.
If you enjoyed this article, you might also like to check out my favorite core exercises for basketball players.