5 Copenhagen Plank Alternatives To Develop Groin Strength
Copenhagen Planks are an excellent exercise for improving groin strength. Too few exercises put a true emphasis on developing groin strength which can make Copenhagen Planks a critical addition to your strength training program.
However, there may be situations where you need an alternative for Copenhagen Planks.
Maybe you don’t have a bench to elevate your foot on or maybe you’re just looking to add some variety to your workouts.
Whatever the reason, you’re in the right place. I’m about to share with you 5 great alternatives for Copenhagen Planks that are extremely effective at training the groin.
Alternatives for Copenhagen Planks
I’ve tried to include as much variety in this list of alternatives as possible. There are exercises that incorporate different pieces of equipment – medicine balls, resistance bands and even one that doesn’t require any equipment at all. There are also beginner-friendly exercises and others better suited for more advanced lifters.
Hopefully, at least one of these exercises will be a good fit for what you’re looking for.
This article contains affiliate links. If you buy something using these links I may earn a commission. Thanks.
Medicine Ball Straight Leg Lifts

Equipment Needed
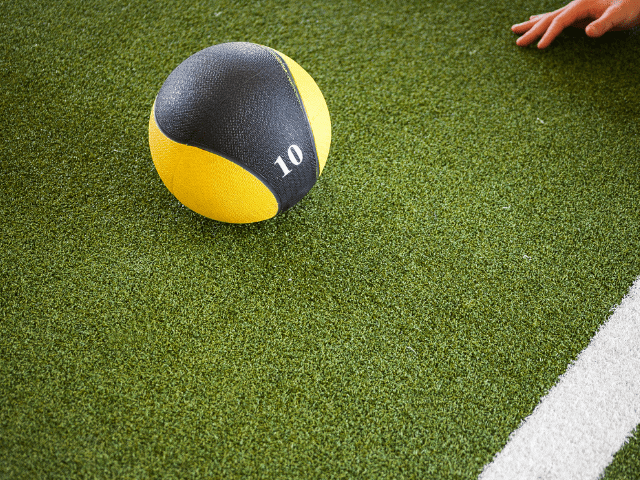
- Medicine Ball
Step-by-Step Instructions
- Lay on your back, legs straight and place a medicine ball between your feet.
- Arms can either be at your side or underneath your low back as support*.
- Start by raising the feet to six inches off the floor (should be high enough to get the ball off the floor).
- Now, using the core, raise the feet until they are straight up (perpendicular to the floor**)
- Finally, lower the legs under control back to the starting position – feet six inches from the floor. Try to keep the medicine ball from hitting the floor in between reps.
- Repeat for the designated number of reps.
Coaching Points
*Some will find that Medicine Ball Straight Leg Raises puts an uncomfortable strain on the low back. Placing both hands under the low back will alleviate this strain for most. If you still find the exercise uncomfortable then I suggest trying one of the alternatives below.
**If you find yourself struggling with being able to get your legs to perpendicular to the floor while keeping them straight, then I would highly suggest working on your hamstring flexibility. You should be able to achieve at least this level of range of motion.
Monster Steps
Equipment Needed
- Resistance Band
- Anchor (Squat Rack for example)
Step-by-Step Instructions
- Wrap a thin resistance band around an anchor like a squat rack.
- Step through the band with the leg that is closest to the rack and secure the band on the leg around the ankle.
- Move laterally away from the rack until a good tension is created with the band.
- Start in a good athletic position – knees and hips bent, chest up, eyes forward – with feet slightly wider than shoulder-width.
- Now step the foot with the band (should be the one closest to the rack) in toward the midline.
- The feet should now be at hip-width distance.
- Finally, actively move the foot back to the original stance, feet wider than should width.
- Do NOT simply relax and allow the band to ‘yank’ the foot back toward the rack.
- Repeat this movement for the required amount of reps and then switch sides.
Coaching Points
Pulling the foot with the band toward the body when doing Monster Steps is usually never an issue.
Issues arise when the athlete does not stay actively engaged when placing the foot back to the starting position. If the lifter simply relaxes the band can aggressively pull the leg and you can actually tweak the groin if there is enough tension on the band. Stay under control of your foot’s movement throughout!
This movement is best done with a thin resistance band. A thick band creates too much tension to be able to go through a full proper range of motion.
Sliding Hip Adductions
Equipment Needed
- Furniture Slider or Towel (can depend on the surface)
How To
- Start in a standing position with one foot on the floor and one foot on a furniture slider.
- Stand tall and keep your legs straight.
- Slowly slide the foot with the slider out until feet are slightly wider than shoulder-width.
- Now, pull the foot back into the starting position.
- Continue sliding the foot out and in until all reps are completed. Then switch sides.
Coaching Points
The amount of stress that Sliding Hip Adductions put on the groin can increase quite dramatically as you widen your stance. Make sure to start slow and slowly begin widening your stance as you feel comfortable.
The equipment to use to slide your foot across the floor can vary depending on the surface you’re on. Personally, I’m a big fan of these Super Sliders. They work on multiple surfaces, they’re big enough for almost any size foot, they’re super durable and finally, they’re cheap.
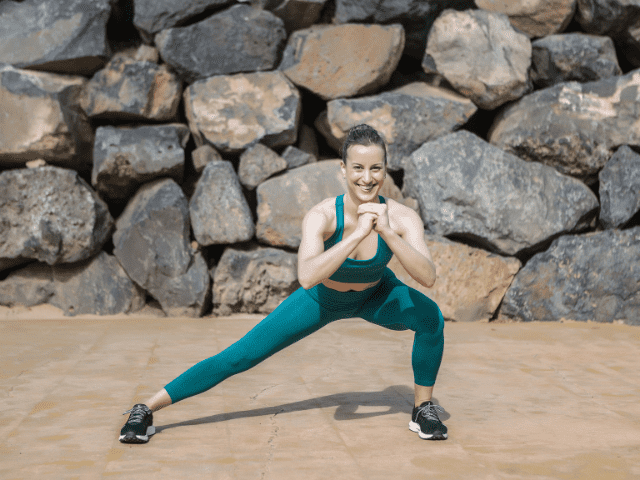
Lateral Lunge

Equipment Needed
- None
Step-by-Step Instructions
- Start in a standing position, feet hip-width apart
- Step out laterally, wider than shoulder-width
- Shift your weight towards the foot that just stepped out (the lead leg).
- As you shift your weight, bend the lead leg and keep the back leg straight.
- Push the hips back, keep the chest up and keep the lead foot flat on the ground (do not shift to the ball of the foot).
- Finally, extend up and step the trail leg back up to hip-width.
- Continue until the distance assigned is completed*
Coaching Points
Oftentimes, I see athletes who turn this movement into a full ‘butt-to-the-floor’ on the lead leg and then turning the toe up on the back side leg to manage the position. This may look good, but it defeats the purpose of stretching the back side groin. By turning the toe up, the stretch moves to the hamstring which is not where the emphasis should be.
*Lateral Lunges can also be done in place if you are short on space. Instead of bringing the trail leg to the lead leg after lunging, simply drive the lead leg back to the original starting position and then repeat. In this scenario, I like to alternate legs back and forth.
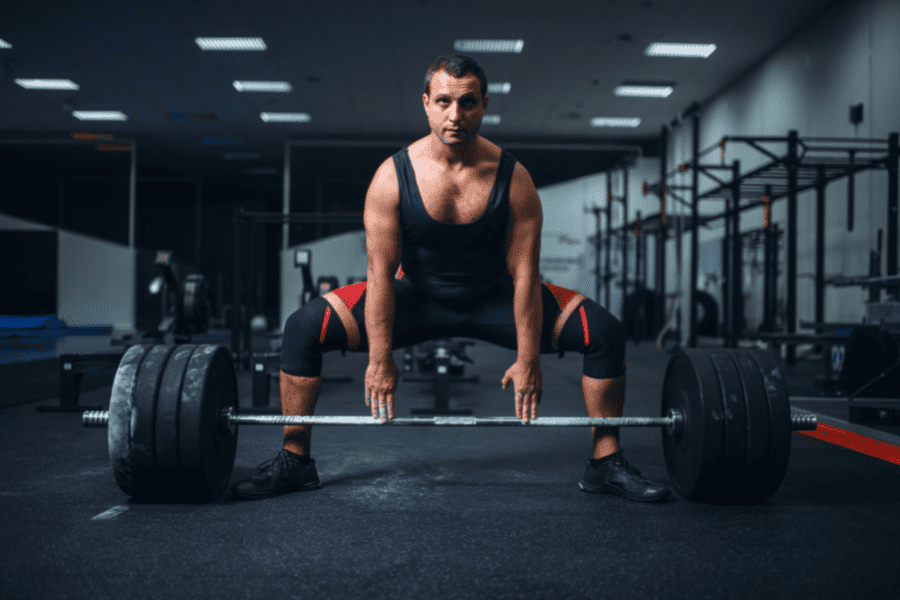
Sumo Deadlift

Equipment Needed
- Barbell
- Bumper or Iron Plates
- Lifting Straps (optional)
Step-by-Step Instructions
The deadlift is a very basic movement; there is a setup, a concentric movement (pulling the bar off the ground), an isometric hold (locking the repetition in), and an eccentric movement (lowering the bar back to the ground before the start of the next repetition).
Setup
- Place feet slightly wider than shoulder-width (The exact width of a stance for an athlete choosing a wide stance will vary based on height and comfortability).
- Slightly turn their feet outward (engaging the glutes).
- Take a deep breath to brace the abdominal muscles.
- The athlete should hinge at the waist and bend at the knee simultaneously until they can comfortably squeeze the barbell with both hands pronated (I will talk more later about mixed grips later in the article).
- As the athlete pulls themselves down into their setup position, they should maintain a neutral head posture, with their eyes fixed on something about 1-2 feet in front of them.
- In the final setup position, the athlete should pull their chest up, and shoulder blades back, while still maintaining a brace in their abdominal muscles and ready to lift.
The Movement
- The lifter needs to create tension by slightly pulling into the barbell and pushing their feet into the floor before maximal contraction/attempts. (This is referred to as “pulling the slack out of the bar”)
- Once this tension is created, the lifter drives their feet through the floor, drives the hips forward, keeping tension in the abdomen and upper back (DO NOT ROUND YOUR BACK), maintaining the barbell over the midfoot, the lifter stands tall with the barbell, and locks the repetition in.
- It is important that each repetition is locked in and controlled at the top of the movement. This is considered an isometric hold. This hold generally only needs to be about 1 second.
- After locking in the repetition for about 1 second, the athlete is ready to lower the weight. The athlete will take in a big breath, maintaining a braced core and shoulder blades pulled together. The hips will push back and the knees will bend simultaneously.
- The bar should maintain a position over the midfoot and should never rest on the thighs during this movement. The athlete will continue to lower the barbell until the weights rest on the floor and prepare for the next repetition.
Grip
Now, let’s talk about gripping the bar. For most field and court sports athletes, gripping the bar with an overhand grip is what I would recommend.
The main reason I recommend this grip is that the athlete is deadlifting to gain strength and athletes should be training symmetrically as much as possible.
This is not to say that a mixed grip is bad for lifters. A mixed grip in some cases will help the lifter pull more weight. But again, I must stress, that lifting more weight for “more weight’s” sake is not a good reason.
Coaching Points
By far the most common mistake with the Sumo Deadlift is improper form. Because the lift is very technical, uses the whole body, and requires patience and persistence, lifters can potentially have incorrect form without realizing it, go up in weight too quickly, and may injure themselves.
Final Thoughts
Copenhagen Planks are an awesome exercise for working the groin, but sometimes Copenhagen Planks are just not an option. Maybe you don’t have the proper equipment or maybe you’re just looking to add some variety to your workout.
In these situations, you’ll need a Copenhagen Plank alternative and I hope that one of the exercises I’ve listed here fits what you were looking for.

