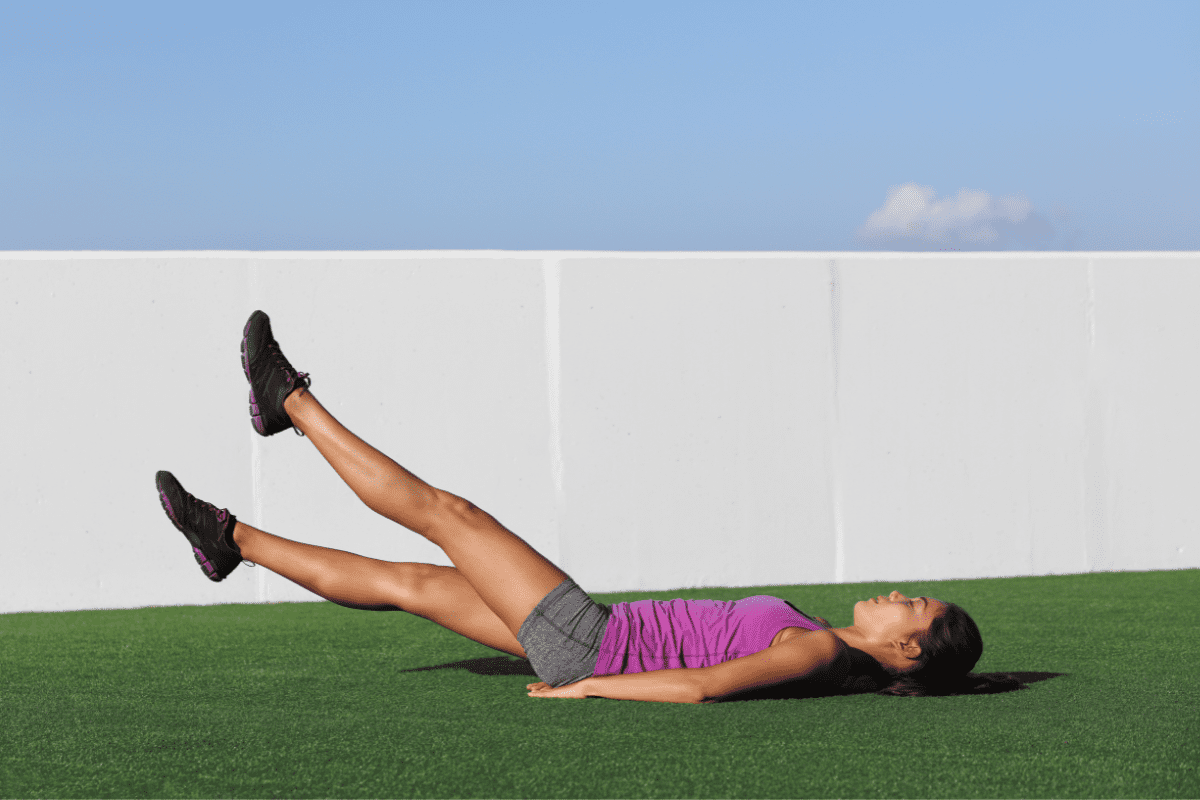
10 Flutter Kick Alternatives to Train Your Core
Are you tired of doing the same old Flutter Kicks every time you work out your core? While Flutter Kicks are a great exercise for targeting the lower abs and hip flexors, it’s always good to mix up your workouts and try out new exercises to keep your training from getting boring and stale.
In this article, I’m giving you 10 alternative exercises that you can incorporate into your core workouts to target the same muscle groups as flutter kicks, while also adding variety and intensity to your routine.
Alternatives to Flutter Kicks
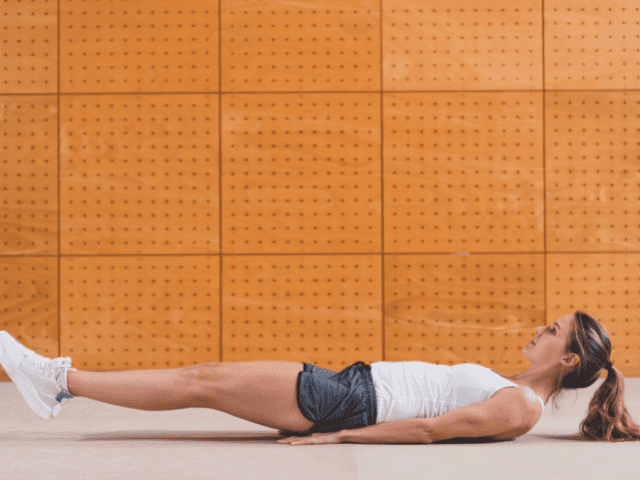
Straight Leg Raises
Equipment Needed
- None
Step-by-Step Instructions
- Lay on your back, feet together, legs straight.
- Arms can either be at your side or underneath your low back as support*.
- Start by raising the feet to six inches off the floor.
- Now, using the core, raise the feet until they are straight up (perpendicular to the floor**)
- Finally, lower the legs under control back to the starting position – feet six inches from the floor.
- Repeat for the designated number of reps.
Coaching Points
*Some will find that Straight Leg Raises puts an uncomfortable strain on the low back. Placing both hands under the low back will alleviate this strain for most. If you still find the exercise uncomfortable then I suggest trying one of the alternatives below.
**If you find yourself struggling with being able to get your legs perpendicular to the floor while keeping them straight, then I would highly suggest working on your hamstring flexibility. You should be able to achieve at least this level of range of motion.
Don’t rush through the movement. The eccentric portion of the movement (lowering the legs) is just as effective at working the abs as the concentric portion.
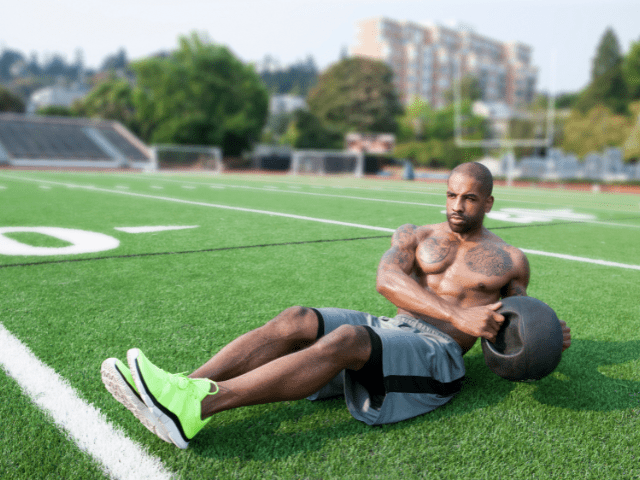
Med Ball Seated Twists
Equipment Needed
Step-by-Step Instructions
- Start by grabbing a medicine ball and taking a seat on the floor.
- Slightly bend the knees and raise your feet roughly six inches off the floor.
- Start by rotating your torso to the left and lightly tapping the med ball against the ground.
- Now turn your shoulders and rotate your torso to the right and, again, lightly tap the ball against the ground.
- Keep legs mostly still and maintain the feet off the floor throughout the movement.
- Continue rotating back and forth until all reps are completed.
Coaching Points (Common Mistakes)
The biggest mistake I see with athletes when doing Seated Med Ball Twists is moving the ball back and forth primarily with their arms instead of rotating through the core. The focus should be on the rotation. The ball touching the ground is simply an added bonus to the movement.
Speaking of the ball touching the ground – there is no need to bang the ball off the ground as hard as possible each rep. Stay in control of the movement and the med ball and lightly tap it on the ground.
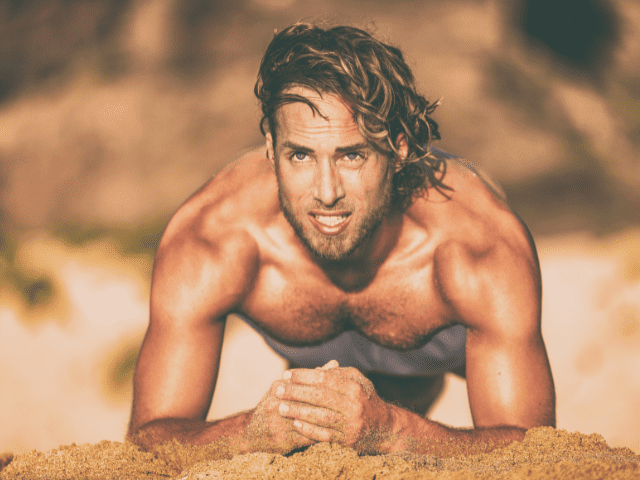
Plank
Equipment Needed
- None
Step-by-Step Instructions
- Start on the ground on your stomach.
- Assume a push-up like position on your elbows and toes. Elbows should be directly under the shoulders.
- Position your body in a straight line from the shoulders through the hips, knees and ankles.
- Brace the core tight. (As if you’re going to be punched in the stomach)
- Do not let the body slouch to the ground nor push the hips up high in the air.
- Hold for the designated amount of time.
Coaching Points
The biggest mistake that I see with Front Planks is athletes holding the position, but not properly keeping the core engaged and just allowing the torso to slouch. So, while they are technically up on their elbows and toes, all they’re really doing is straining the low back.
The other mistake I see is the exact opposite and that is athletes shooting their butts into the air, resembling more of a Down Dog position.
The difference between the two is the second, having your butt too high, is easier to notice and corrected more often. However, letting the body slouch during a plank is often allowed to pass as ‘good form’ when it is not.
Bicycle Crunches
Equipment Needed
- None
How To
- Lay on your back with your knee and hip flexed to 90 degrees
- Raise your shoulder blades off of the ground several inches and put your hands behind your head.
- Keep your chin off of your chest and keep your left leg off of the ground.
- Straighten your right knee while simultaneously driving the left knee in the opposite direction toward your shoulder.
- Touch your left knee to your right elbow and immediately repeat to the other side.
- Each time your right elbow touches your knee left knee, count as one repetition.
Coaching Points
Your hands behind your head should only be there for support. Do not pull on your head when doing Bicycle Crunches.
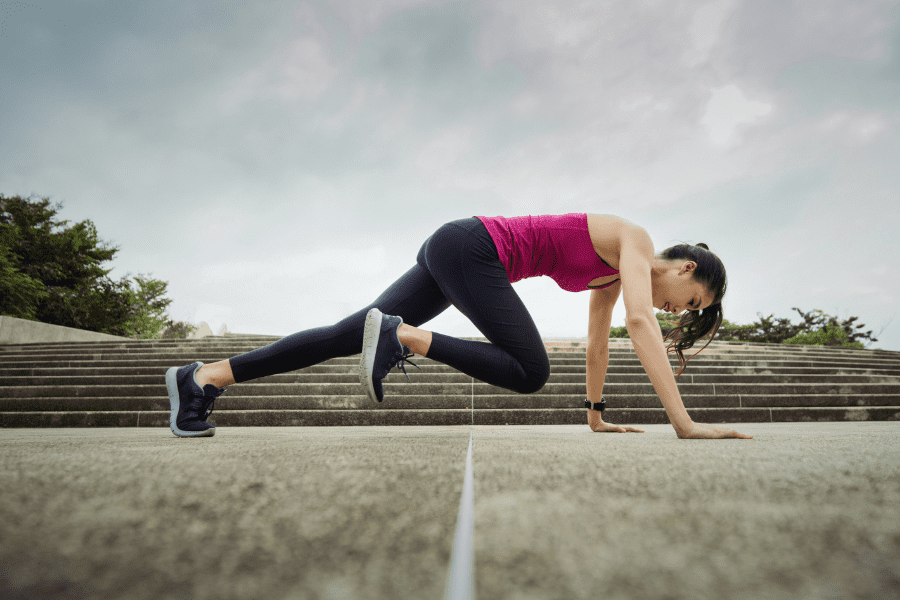
Mountain Climbers
Equipment Needed
- None
Step-by-Step Instructions
- Begin in a push-up position – hands under shoulders, core engaged, body in a straight line
- Now raise one knee toward the chest and place the ball of the foot on the ground – from this position you’re ready to begin performing reps.
- Drive one leg up and place the foot right next to where the opposite foot just left.
- Simultaneously extend the ‘up foot’ back to the original starting position.
- Continue alternating back and forth until all reps are completed. (count moving left and right legs up as one rep)
Coaching Points
There are a few common mistakes that athletes make when doing Mountain Climbers – especially if they are fatigued.
- Keep hips down throughout the movement. Don’t allow the hips to start to raise as the legs get tired.
- Keep driving the knees straight up toward the chest. Tired athletes will tend to start turning their feet and knees out to the side.
- Finally, try to maintain the same distance of each rep. Range of motion is usually the first thing to go when fatigue sets in.
Reverse Crunches
Equipment Needed
- None
How To
- Start laying on your back with hands either out to the side or under the low back for support.
- Lift the legs up six inches off the ground.
- Pull the knees in toward the core.
- Now, extend the legs and drive the feet straight up in the air – lifting the hips up off the ground.
- Retrace back to the starting position (keep feet off the ground) and repeat.
Coaching Points
When doing Reverse Crunches, focus on using the core to really lift the hips off the ground and drive the legs into the air at the top. Then, move more slowly and under control back to the start.
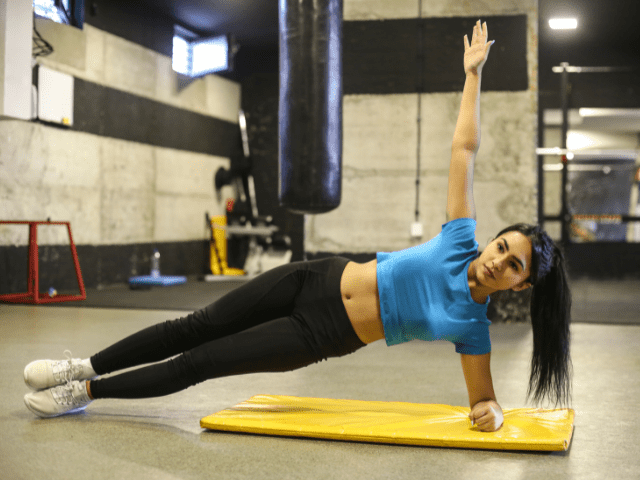
Side Plank
Equipment Needed
- None
Step-by-Step Instructions
- Lay on your side, one elbow down and feet, hips and shoulders stacked vertically above one another.
- The opposite hand (non-support arm) can be placed on the hip or held up in the air.
- Hold this position for the designated amount of time.
Coaching Points
The biggest mistake I see with athletes with Side Planks (also called Lateral Planks) is allowing the top shoulder to hunch forward. Both shoulders (along with hips and feet) should be stacked directly above each other. Do not allow yourself to twist forward toward the ground with your upper body.
The other aspect of Lateral Planks to be mindful of is keeping the hips elevated and the body in a straight line. When fatigue starts to set in, the first thing that will happen is the hips will being to sag down toward the floor. Try to keep those hips high and fight through until the end.
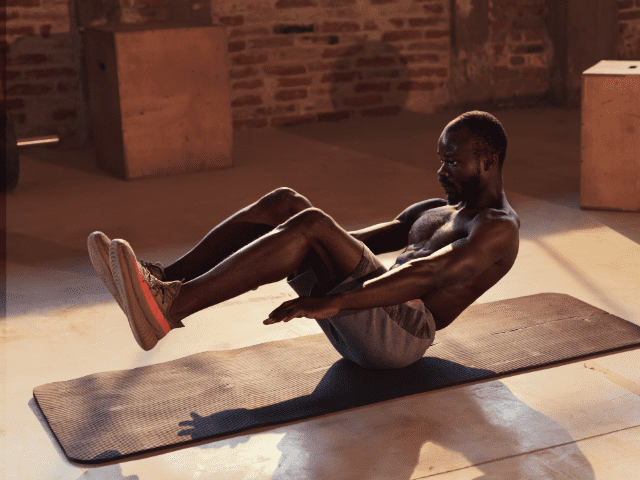
Suitcase Crunches
Equipment Needed
- None
Step-by-Step Instructions
- Start by sitting on the ground, balancing on your butt with legs and back up off the ground.
- Legs should be almost straight, feet roughly six inches off the ground. Torso should be leaned back at about a 30-degree angle.
- From the starting position, crunch up, bringing the knees and chest together above the hips (like a suitcase shutting)
- Lower back to the starting position and repeat until all reps are completed. (Feet and back should stay off the ground throughout the movement)
Coaching Points
If you keep your feet uncrossed during Suitcase Crunches, your groin will be forced to stay engaged. This creates a small added bonus to the exercise.
Dead Bug
Equipment Needed
- None
How To
- Begin by lying on the floor on your back.
- Raise both arms straight up toward the sky.
- Bend both knees at a 90-degree and raise the legs until the knees are directly vertical of the hips.
- Tuck the hips and flatten the low back against the ground.
- Brace the core and simultaneously lower the right leg and left arm toward the floor.
- The arm should end up six inches from the ground directly overhead.
- The leg should end up six inches from the ground directly below the hip.
- Return both back to the starting position and then lower the opposite arm and leg.
- Continue alternating back and forth, pausing and ‘locking-in’ each rep.
Coaching Points
The back will naturally want to arch as you do Dead Bugs. Try not to let it. Keep your hips rolled up and your low back flat against the ground.
Don’t rush through this exercise. Stay nice and slow and under control. Pause each rep at full extension before returning to the starting position.
Hollow Rocks
Equipment Needed
- None
How To
- Lay on your back, legs straight and arms extended overhead.
- Brace the core and lift the feet roughly six inches off the ground.
- Now, slowly rock up and down, a few inches in each direction.
- Focus on keeping core tension throughout the movement.
Coaching Points
- You don’t need to go crazy with how much you rock when doing Hollow Rocks. Keep the rock small and controlled (arms and feet shouldn’t hit the ground) and focus on maintaining core tension.
Final Thoughts
Now that you have these 10 new alternative exercises to Flutter Kicks, you can finally add some variety and challenge to your core workouts.
Whether you choose to try out one or all of these exercises, be sure to focus on proper form and gradually increase the intensity and duration over time. Mix and match these exercises and find what works best for you. With a little creativity and dedication, you can achieve a stronger, more stable, and well-rounded core.

