Inverted Rows (How To, Muscles Worked, Benefits)
Inverted Rows are like the poor man’s pull-up. Or, as a former Offensive Lineman, we used to call them fat guy pull-ups.
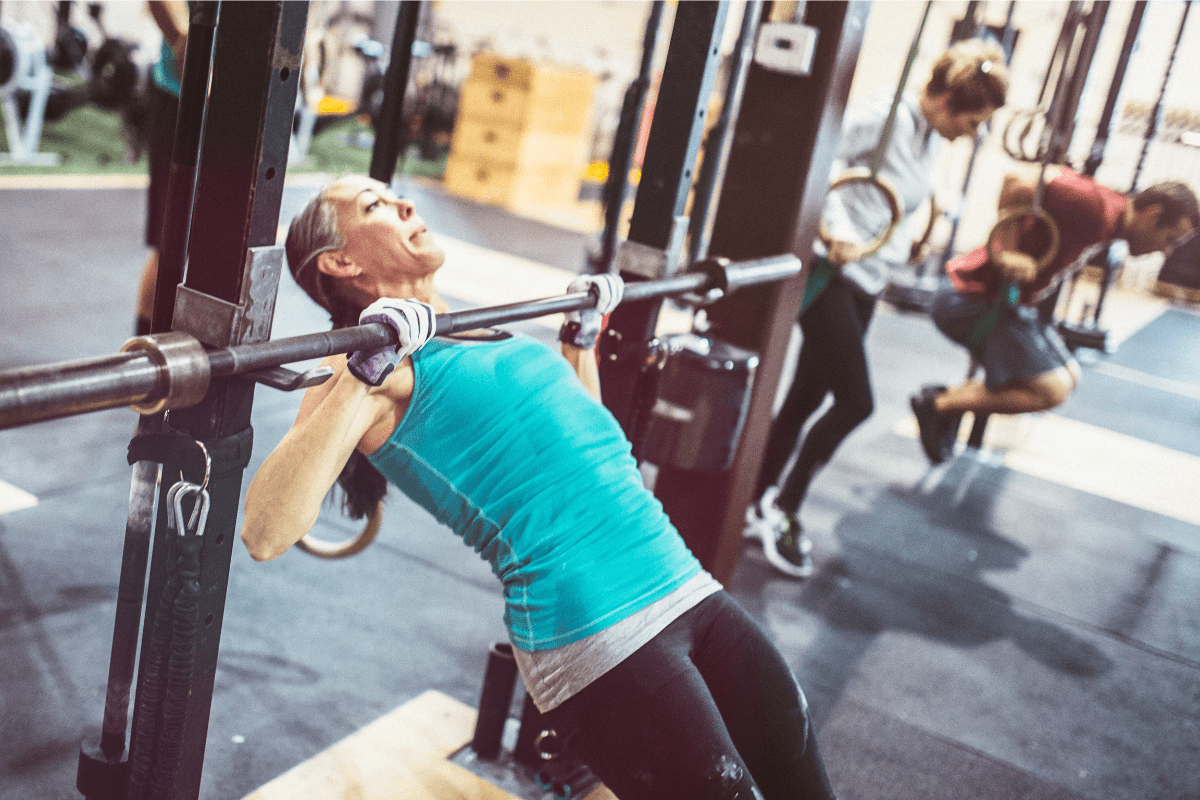
This is because Inverted Rows are basically the horizontal row equivalent of a pull-up (which is a vertical pull). You can also easily alter the difficulty of Inverted Rows by changing the height or the bar or even elevating your feet on a bench.
This ability to change the difficulty makes them a great substitute for anyone not quite able to do pull-ups yet. Having said that, they are a great back exercise of their own right and one that I include in my programming quite often.
In this guide I’m going to teach you how to do a proper Inverted Row, go over a few common mistakes and give you some variations you can try out.
How To Do Inverted Rows
Equipment Needed
- Barbell*
- Squat Rack
*I generally do Inverted Rows with a barbell in a rack, but if you have rings they work great as well.
Step-by-Step Instructions
- Start by placing a bar on the rack about waist height.
- The higher the bar is placed, the easier the rows will be. The lower the bar is placed, the harder the rows will be. (Just make sure to leave yourself enough room to fully extend your arms at the bottom of the rep)
- Set the bar on either the J-Hooks or the Safety Bars
- Lay down underneath the bar.
- Grab the bar with an overhand grip, brace the core and make sure your body is fully extended – including your legs.
- You should be positioned to where when you pull yourself up towards the bar, the bar touches the same spot on the chest as it would for bench press. Slide up or down to adjust accordingly.
- Now, keeping your body in a straight line, pull your chest up to the bar and lower back down until your arms are fully extended.
- Repeat until all reps are completed.
Coaching Points
There are two common mistakes that I see all the time when it comes to Inverted Rows.
One, athletes I coach love to either pull their face to the bar or even raise their chin up and over the bar like a pull-up. These are both wrong.
You should think of the Inverted Row like a reverse bench press. Keep your head back, chest out and pull your chest directly to the bar. Pull the shoulder blades down and back at the top of the rep and squeeze the back.
The second mistake I see all too often is tired athletes that start to look like they’re doing the worm. They start rocking and rolling their entire body to try to get their chest up to the bar. Don’t do this! Maintain a rigid body posture and continue pulling yourself as high as you can each rep.
Inverted Rows are sometimes referred to as Inverted Pull-ups and/or my personal favorite, Aussie Pull-ups. If you see one of those names in a program or workout, they are most likely referring to the same exercise.
Benefits
There are a number of benefits to Inverted Rows including:
- Strengthening the upper back: Inverted rows target the muscles of the upper back, including the rhomboids, lats, and traps, which can help to improve posture and reduce the risk of injuries.
- Developing grip strength: Grasping the bar during the inverted row exercise can help to improve grip strength, which can be beneficial for many sports as well as activities such as rock climbing.
- Low impact: Because inverted rows are performed using the individual’s own bodyweight, they are a low-impact exercise that can be performed without putting excess strain on the joints. This makes them a good option for individuals with joint issues or those looking for a lower-impact alternative to exercises such as Barbell Bent Over Rows.
Muscles Worked
Inverted Rows work about every major muscle group in the back and biceps.
The Lats, Teres Major, Posterior Delts, Biceps, Brachialis and even the Traps and Rhomboids get involved when squeezing the scaps at the top of the movement. As an added bonus, your core will get some work in as well as it has to stabilize your torso as you row.
You can see why I love incorporating Inverted Rows into my programming.
Inverted Row Variations
There are numerous ways you can variations to Inverted Rows, making them easier or much harder. Here are a few:
With Knees Bent
If you find yourself really struggling to pull yourself up to the bar, the quickest and simplest way to make the movement easier is to bend your knees.
This is a great variation for both beginners and/or anyone trying to squeeze out those last couple reps of a set.
With Feet Elevated
If you trying to make your Inverted Rows more challenging, start by elevating your feet. A bench or a box both work great for putting your feet up on while you row. For even more of a challenge, use a Stability Ball to place your feet on.
With Weight
Another way to make Inverted Rows more difficult is to add extra resistance, generally in the form of weight plates. Lay a 25 or 45 pounds plate on your chest and then go to work.
Inverted Row Alternatives
If you can’t do Inverted Rows – maybe because of an injury or lack of equipment – here are a few alternatives that may work as a substitute.
Want even more options? Here are my 13 favorite Inverted Row alternatives and variations.
Barbell Bent Over Rows

If you don’t have a rack you can sit a barbell on, then I would suggest opting for Barbell Bent Over Rows.
It’s the same movement pattern and comes with almost all of the same benefits – no rack required. Just make sure to really brace your core to protect your back while doing Bent Rows.
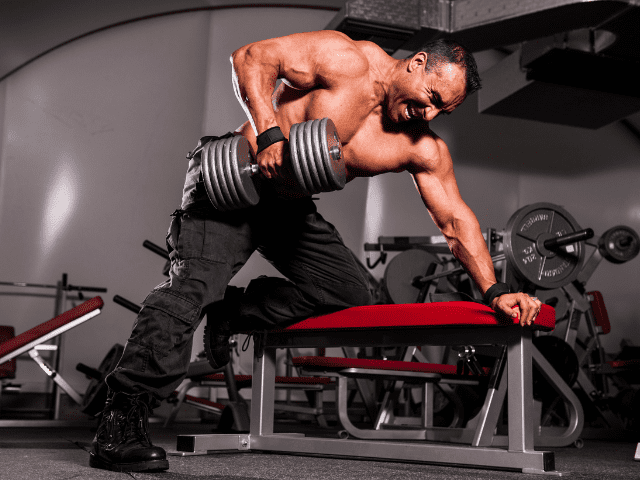
DB One Arm Row

If you don’t have a rack or a barbell, but you do have dumbbells – give DB One Arm Rows a try.
Like Barbell Bent Rows, it’s a very similar movement pattern with similar benefits.
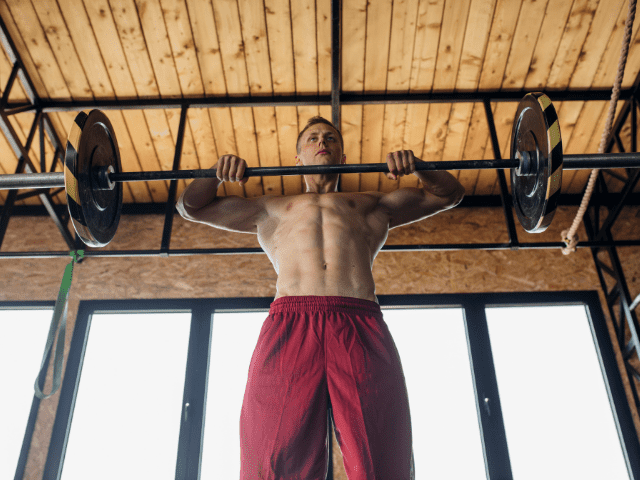
Upright Rows

Upright rows can be a good alternative for inverted rows because they are a compound exercise that targets several of the same muscle groups, including the shoulders, upper back, and biceps.
They’re also able to be done with a variety of equipment. Barbell Upright Rows are probably the most well-known variation, but upright rows can also be done with dumbbells, a kettlebell or even a resistance band.
More Links and Info
Looking for more great upper body strength builders? The Upper Body Lifts section inside my Exercise Library has tons of exercises (complete with step-by-step instructions) for creating a strong, powerful upper body – all for free.

