10 Trap Bar Deadlift Alternatives (that still work great)
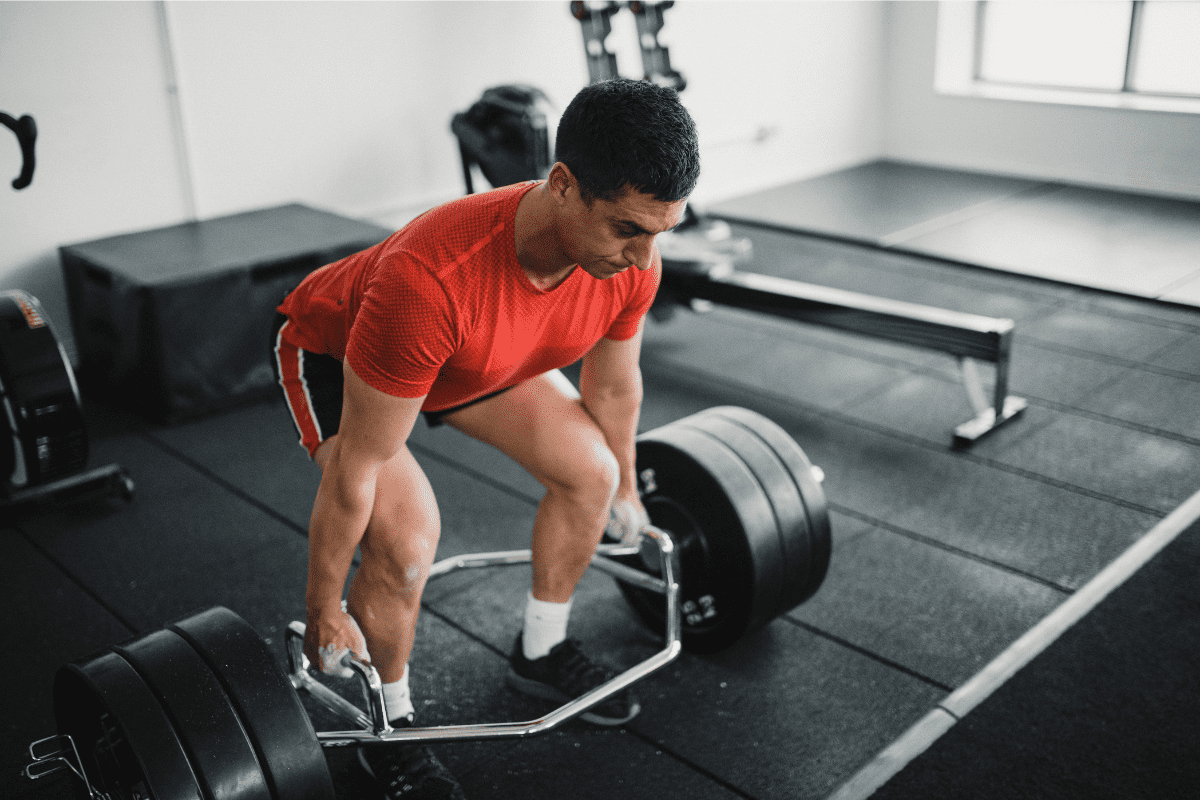
Trap Bar Deadlifts are an extremely popular exercise for building lower body strength, and for good reason. They’re beginner-friendly from a technique standpoint and are a compound exercise that works many muscle groups at once.
But, what if you don’t have a trap bar (or hex bar as they’re also known)?
Not a problem because there are plenty of trap bar alternatives that you can use as a substitute for trap bar deadlifts.
In this guide, I’m going to show you 10 different trap bar deadlift alternatives using barbells, dumbbells and kettlebells that you can use if you don’t have a trap bar available to you.
Let’s get started.
Alternatives for Trap Bar Deadlifts
Conventional Deadlifts
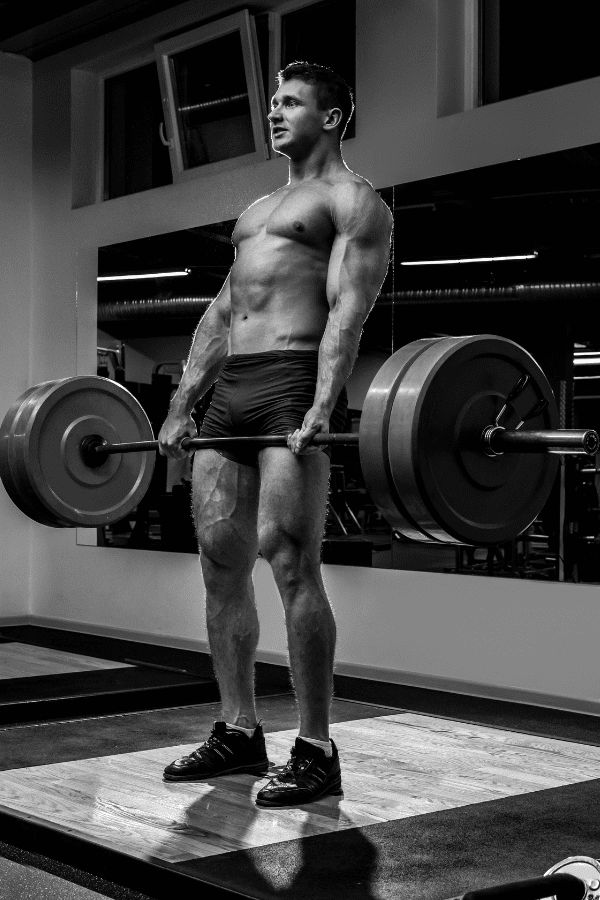
Chances are, you saw this one coming, but it needs to be said. Conventional Deadlifts done with a barbell are the best alternative for Trap Bar Deadlifts.
Technically, Trap Bar Deadlifts are an alternative for Barbell Deadlifts, but let’s keep it moving.
Deadlifts are a staple exercise for almost anyone looking to build size and strength, however, many look to trap bar deadlifts because of mobility and/or low back issues.
In these circumstances, conventional-style deadlifts may not be the best alternative.
If this is the case for you, check out some of the other trap bar deadlift alternatives listed below.
Sumo Deadlifts
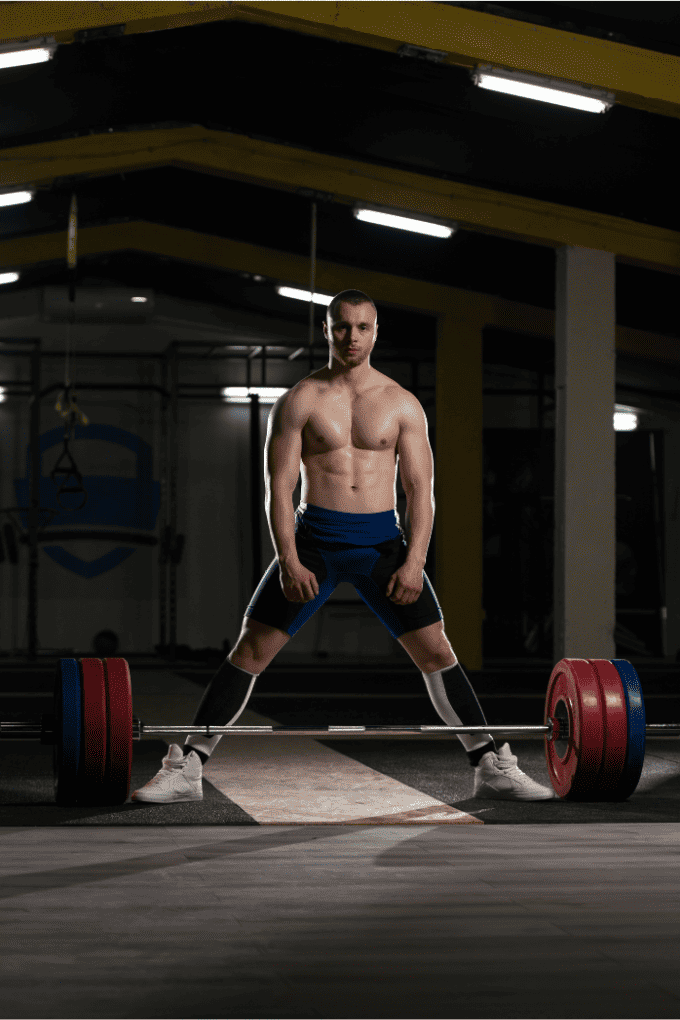
Sumo Deadlifts differ from Conventional by starting stance.
Conventional Deadlifts are done with feet roughly shoulder-width apart so that the knees end up being inside of the arms. Sumo Deadlifts are done with a wide stance and the arms end up being inside the knees in the starting position.
Because of this wider stance, some lifters with mobility deficiencies may find Sumo Deadlifts easier to do.
And while I would suggest continuing to work to improve your mobility if possible, Sumo Deadlifts may be an acceptable substitution until then.
Deadlifts From Blocks
Lack of mobility can make it very uncomfortable, if not impossible, to set up for deadlifts with proper starting form. This is one of the main reasons Trap Bar Deadlifts are very popular – the elevated handles make them much easier to get in a comfortable starting position.
For athletes struggling to get into a proper starting position, whether for deadlifts or Olympic lifts, moving them to blocks (boxes designed for weightlifting) is usually my first choice for an alternative.
It elevates the bar up off the ground, demanding less mobility from the lifter to get into a proper setup.
As mobility improves, the elevation needed can be lessened until the lifter no longer needs to work off boxes at all.
If you don’t have lifting boxes, you can use 45-pound plates if they are flat on one side. Just make sure to sit down each rep as dropping the weights could end up in the weights bouncing and hitting the edge of a plate and rolling hard – potentially into the shins which is no fun.
Kettlebell Deadlift
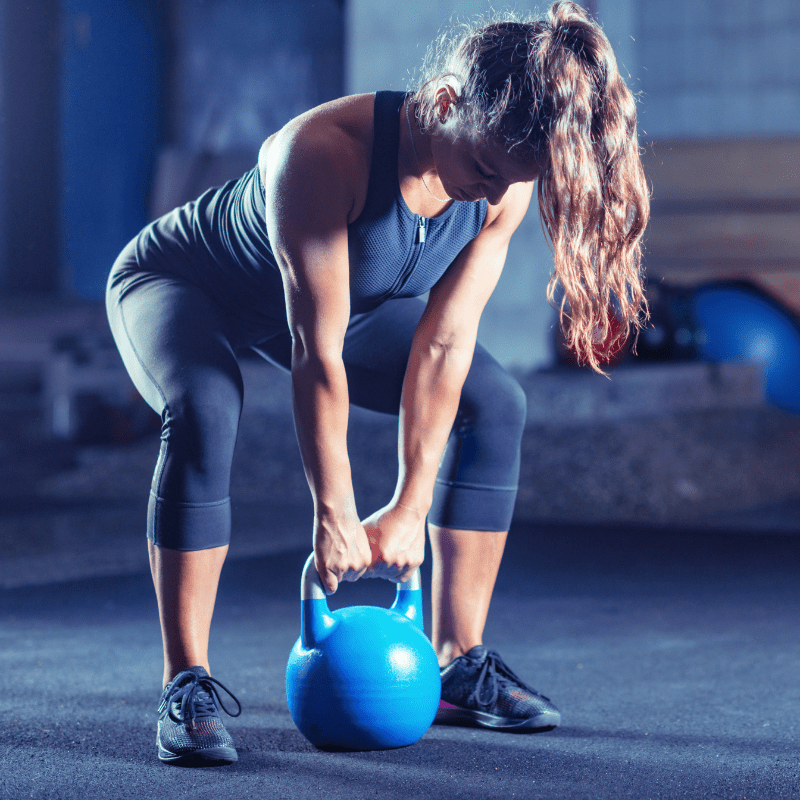
Using a kettlebell for Kettlebell Deadlifts is another great alternative.
Using one kettlebell on the floor between the feet, get into a good starting position by bending the hips and knees and maintaining a good flat back.
Grab the kettlebell with both and then deadlift – no different than you would with a barbell.
If you don’t have a heavy enough kettlebell where deadlifts make sense, consider Kettlebell Swings. Kettlebell Swings are essentially a lighter, more explosive version of a deadlift that provides a lot of the same benefits.
Kettlebell Swings
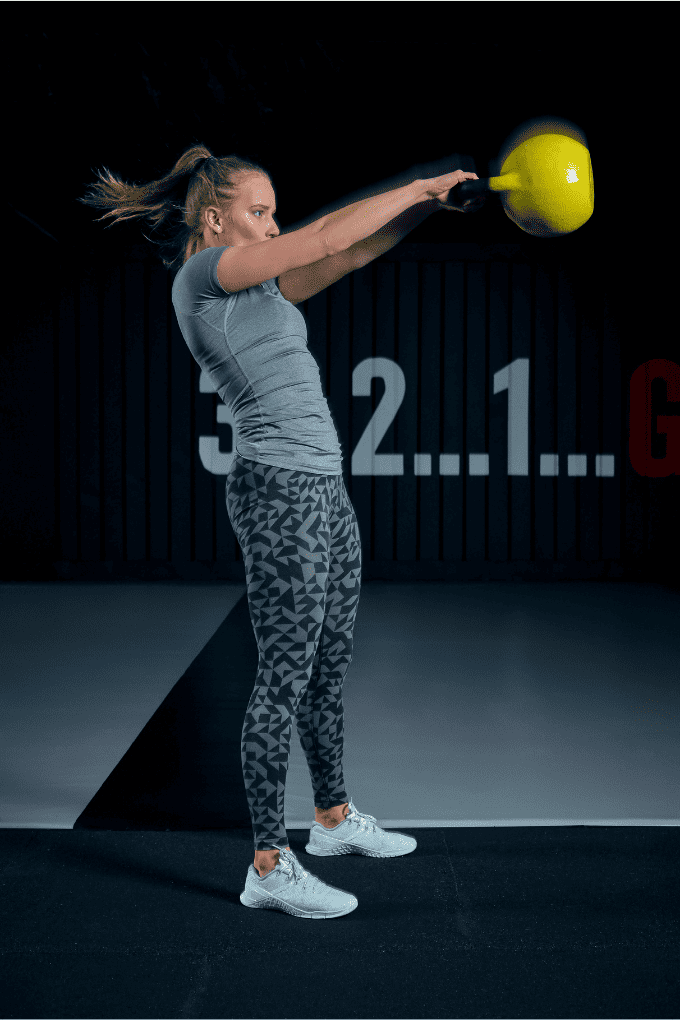
Kettlebell Swings emphasize the posterior chain muscles just like a deadlift does, but they do so in a much different way. Kettlebell Swings are more similar to an Olympic lift than they are a deadlift.
They’re generally done with much lighter weight and the focus is on driving the weight explosively using power generated from the hips.
They may not pack on muscle mass quite as well as deadlifts, but a kettlebell can be taken on a road trip much easier than a barbell and 400 pounds.
Equipment Needed
- Kettlebell (you can also use a dumbbell by grabbing the end of it)
Step-by-Step Instruction
- Approach the kettlebell with a stance slightly wider than shoulder width.
- Take a deep breath, slightly bend the knees, hinge at the waist, and squeeze the kettlebell with both hands.
- Maintain a neutral spine, eyes focused on something just in front of you.
- Initiate the movement by pulling the dumbbell off the ground and into the “power position”.
- The power position is where the hips are flexed (loaded), knees are slightly bent, and you are now going to drive the kettlebell forward.
- Extend the hips and knees, driving the kettlebell forward.
- The kettlebell will drift from the hip extension to about shoulder height but should not go any higher.
- Gravity will bring the kettlebell back down.
- Actively “pull” the kettlebell back to the power position. You should never feel loose or out of control as you swing.
- As you pull the kettlebell and prepare for the next rep, remember to keep a tight abdomen and upper back.
- This movement is fast and works on rapid force development via hip and knee extension.
Coaching Points
The kettlebell swing is a great movement to train rapid hip extension and flexion. Remember to always keep a neutral spine.
Choosing the proper kettlebell weight is important. Heavier is not always better. Because of the rapid nature of the kettlebell swing, the emphasis should be on velocity, speed, and power.
I would recommend starting light and you will be able to increase weight easily as you get more comfortable with the movement.
Romanian Deadlift
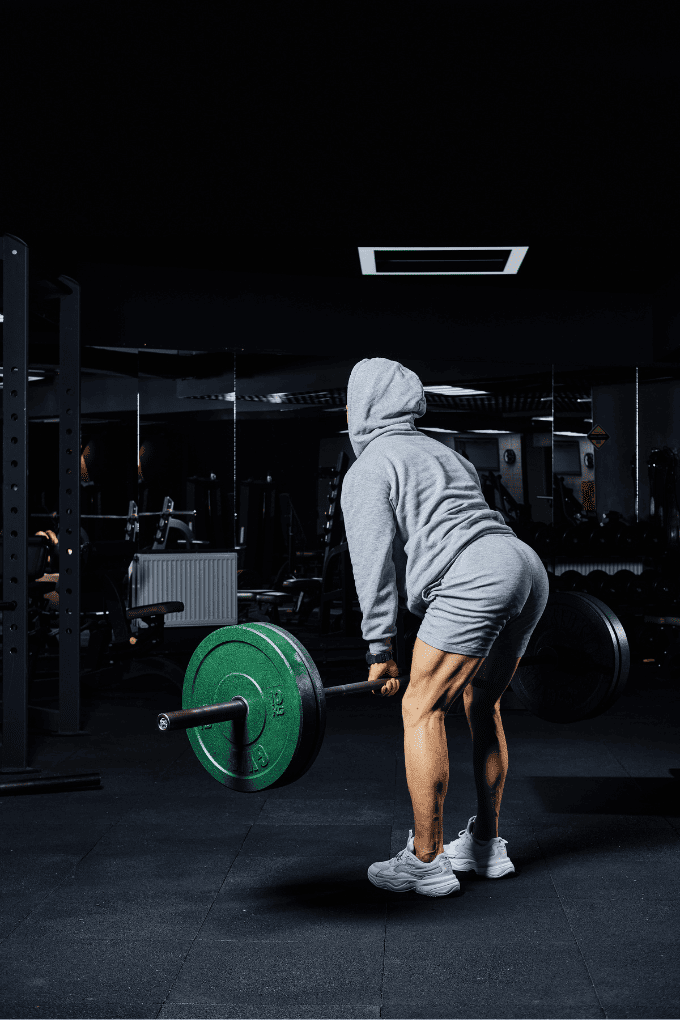
Romanian Deadlifts, or RDLs for short, are a deadlift alternative that takes some of the focus away from the quads and overemphasized the posterior chain – the erectors, the glutes and the hamstrings.
I use RDLs all the time in my programming on lower body days when there has already been a sufficient amount of quad work already done (squats, single leg exercises, etc).
Equipment Needed
- Barbell
- Weight Plates (Bumper or Iron)
Muscles Worked
- Hamstrings
- Glutes
- Erectors (Low Back)
How To
- Address the bar with feet shoulder-width apart, and toes straight ahead.
- Use a pronated grip about a thumb length from the start of the knurling.
- Now, with a good flat back, pick the bar up to a standing position.
- From here, put a slight bend in the knees and ‘set the back’ by squeezing the shoulder blades and engaging the lats.
- Brace the core and hinge forward by pushing the hips back.
- The bar should almost drag right down the legs, across the knees and straight down the shins. The whole foot should stay flat on the ground, but the weight should be on the mid-foot to heel.
- Maintain the neutral spine position throughout the descent and once you feel a good stretch in the hamstrings, drive the hips forward (hip extension) and return to the starting position.
Coaching Points
The ‘depth’ that each person gets will be different and absolutely solely dependent upon hamstring flexibility.
Do NOT try to ‘reach’ the barbell toward the ground because you believe the plates should touch the floor. If you have tight hamstrings you may be doing well to get the bar to mid-shin.
Trying to reach the bar to the floor will result in the lifter losing their neutral spine and rounding their back, allowing the back to round is the most common mistake I see with RDLs and can lead to injury.
Use less weight if necessary and work on being able to keep the back engaged and the spine in a neutral position throughout the entire exercise.
Clean Pulls
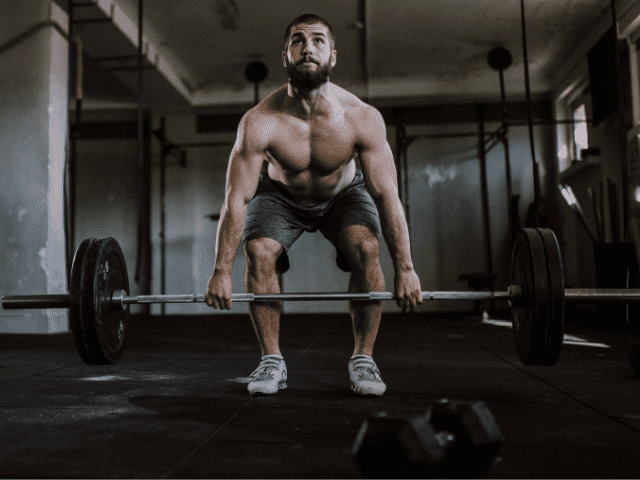
I love deadlifts and think they are one of the best exercises for building strength and muscle mass. However, I don’t use them very often in my programming for athletes.
Why?
I usually opt for Clean Pulls with athletes. They’re the same basic movement, but Clean Pulls are a lighter, more explosive version.
A Clean Pull is an Olympic lift variation that focuses only on the pull and the triple extension – no high pull with the arms and no catch. This explosive triple extension has a better carryover to sport and that is why I often use it in place of deadlifts.
Equipment Needed
- Barbell
- Bumper Plates
Step-by-Step Instructions
Starting Stance
- Start with feet hip-width apart with toes straight ahead (or ever so slightly pointed out).
- The bar should be over the middle of the feet. I always used the knot in your shoelace as a visual cue, but essentially the bar is close to (but not touching) the shins.
- Grip should be slightly wider than shoulder width.*
- The grip is a pronated grip (both palms facing down) and the lifter can choose, although highly recommended, to use a hook grip. A hook grip is where the thumb is wrapped around the bar first and then the fingers are wrapped over the thumb.
- The wrists should be slightly curled so that the knuckles are pointed straight down to the ground. This will also naturally rotate the elbows, pointing them laterally away from the body.
- Shoulders slightly over the bar, arms straight, hips slightly higher than the knees. Because of differences in body composition, torso lengths and limb lengths, every lifter will not look exactly the same when it comes to the starting body position.
- Back should be flat or have a slight arch. Shoulder blades should be pulled back and the upper back including the lats should be engaged. I like use the coaching cue ‘big chest’ or ‘superman chest’ with athletes so they get the idea of retracting their shoulder blades which coincides with “puffing out their chest.”
First Pull
The ‘First Pull’ simply refers to the portion of the movement that involves moving the bar from the floor to the knee.
- The last thing that should happen as the lifter is setting up in their starting stance is to take a deep breathe in and engage, or brace their core. This helps the lifter both protect their back as well as aid in the transfer of power from their legs to the bar.
- Raise the bar off the floor at a constant speed using the legs by driving the feet through the ground. Arms should stay straight and the barbell shouldn’t be ‘yanked’ off the ground.
- Hips and shoulders rise at the same time (torso angle remains constant)**.
- As the bar comes up, keep the bar close to the shins and the feet should remain flat, driving the feet hard into the floor.
- Finally, as the bar passes knee level, wrists remain curled and elbows rotate out to the side, core and back should still be tight and engaged.
Second Pull (and finish)
The second pull involves getting the bar from just above the knee to the power position.
The power position is the point where the athlete is nearly vertical and where the final triple extension of the hip, knees and ankles will occur followed immediately by the shrug and pull from the arms.
- Once the bar crosses the knees, the bar is then pulled explosively, bringing the shoulders back and up.
- As the lifter continues to drive vertically, the shoulders will end up slightly behind the bar and the hips, knees slightly bent and the ankles will have just a bit of flexion left in them.
- From the power position, this is where the final explosive hip extension occurs along with the full extension of the knees.
- The foot drive shifts from the whole foot to now extending up through the balls of the feet.
- The triple extension of the hip, knees and ankles is followed instantaneously by a quick, aggressive shrug.
- Bar is pulled vertically close to the body as the traps shrug to elevate the bar.
- Now, either retrace back to the floor or drop the bar and then reset.
Coaching Points
*An easy way to get your grip in the right position is to place your hands one thumb length away from the start of the knurling of the bar. This width will work for 90% of lifters.
Wider athletes may end up sliding their hands just a bit wider and vice versa for narrow athletes, but it’s a good starting point for anyone.
**One of the biggest mistakes with clean technique is that lifters will shoot their butt up first, locking their knees out and then they end up pulling the bar with their back instead of their legs.
This is most often caused by lifters trying to rush the first pull too much. Don’t get ahead of yourself.
Dumbbell Deadlift
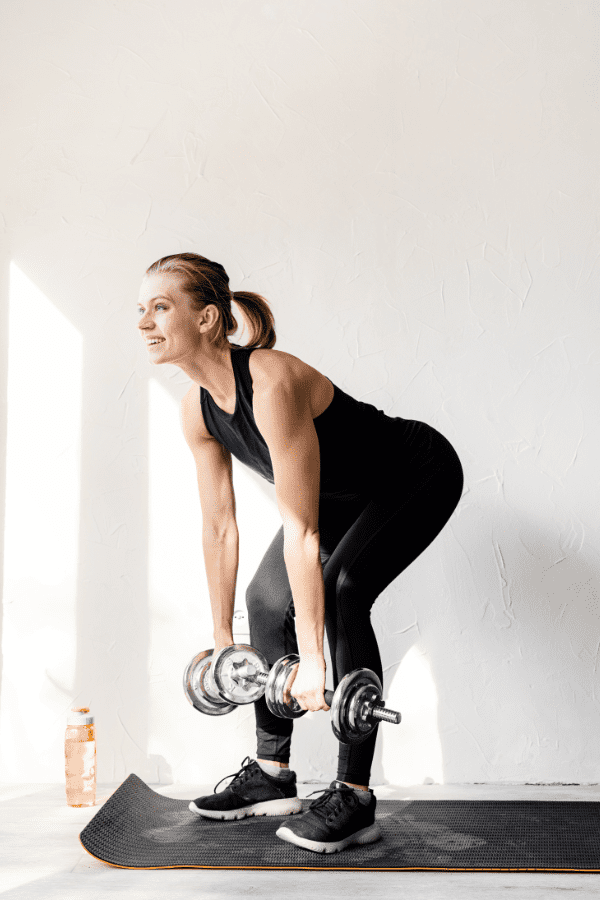
The DB Deadlift wouldn’t be one of my first choices to replace Hex Bar Deadlifts, but if dumbbells are all you have to work with then they can do the job.
Deadlifting with dumbbells can be done one of two ways.
First, you can use a single dumbbell, grabbing it by the head and using it exactly as you would a kettlebell.
The other way is to use two dumbbells and either hold them by your side or in front of you as if you were holding a barbell. Hinge down until the dumbbells get to about mid-shin and then stand back tall.
The reason I’m not personally a huge fan of Dumbbell Deadlifts is I find holding them while deadlifting to be cumbersome and awkward. However, as I said before, if dumbbells are what you have you can definitely make them work.
Hammer Strength Squat Lunge Machine
The Hammer Strength Squat Lunge Machine (we always called it the Hammer Pull) is perhaps the alternative that is most like the Trap Bar Deadlift itself. The handles sit laterally of the body and are more elevated off the ground than a barbell.
However, the reason I don’t have it listed higher on the list is that most of us probably don’t have access to a Hammer Pull machine.
I’ve had them in a few of the college weight rooms I’ve worked in, but not all. Some commercial gyms may have one if you’re lucky and they’re extremely expensive to buy for a home gym.
But, if you do happen to have access to this machine, I’d highly recommend giving it a try.
Tire Flips
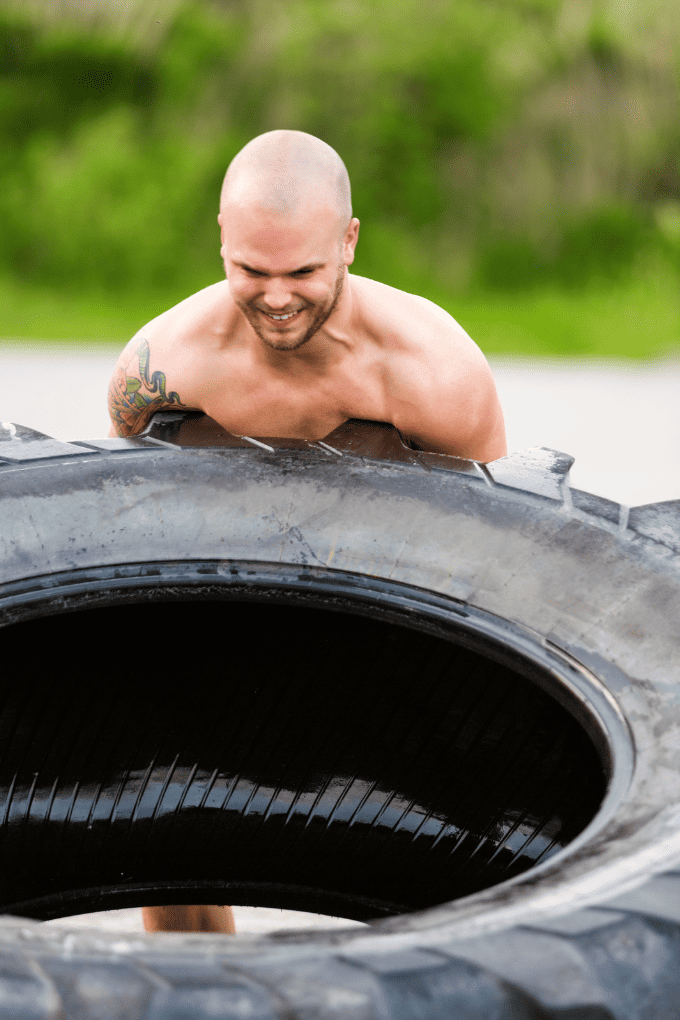
This last suggestion is admittedly a little more creative than the rest, but I believe Tire Flips can also work as a solid alternative for Trap Bar Deadlifts.
After all, picking up a tire from the ground uses the same body position and the same movement pattern. So, if you don’t have a Trap Bar, but you do have a tire that you workout with – put that thing to use!
Equipment Needed
- Tire
Muscles Worked
- Tire Flips are a true total body movement. Almost every major muscle group is at work at some point during Tire Flips.
How To
- Make sure you have plenty of space to be able to safely flip the tire.
- Start with the tire laying on the ground on its side.
- Stand with toes almost against the tire, feet roughly shoulder-width apart.
- Drop the hips and reach under the tire.
- Once you have a good grip under the tire flatten your back and brace your core.
- Drive the feet through the ground and aggressively begin to extend the hips.
- If the tire is heavy, you can slide one knee under the tire to help with leverage once the tire is high enough.
- When the tire gets above stomach height, flip your hands around so you can begin to push the tire.
- Push the tire forcefully forward – extending with both your arms and legs.
- The tire should land on its side. Repeat for the designated amount of distance or reps.
Coaching Points
The biggest key to Tire Flips is perhaps in finding the right tire.
Every school I’ve ever worked at had big tires that were used for Tire Flips. However, the size and weight of these tires have all been drastically different.
They’ve ranged from tires that were barely heavy enough to be worth using to tires that took two and sometimes even three football players to flip.
Just like with Deadlifts and Power Clean, it’s extremely important to drop the hips, use the legs and keep the back flat.
Once fatigue starts to set in I generally see athletes resort to using more back than legs. If form reaches this point then it’s time to stop flipping the tire.
Need a Training Program?
Coach Horton has 20 years of experience training elite level athletes at schools like the University of Tennessee and Georgia Tech. He has also written plenty of programs for other coaches and friends and family.
So, whether you need a program to improve your performance in your sport or you just want to look good at the beach, there is a program designed just for you.
Final Thoughts
For any exercise or piece of equipment, there are almost always alternatives you can use as a substitution.
Don’t get frustrated if you don’t have access to something listed in your workout program, just figure out how to adapt the movement. This is why I list alternatives for almost every exercise in my Exercise Library.
So, if you want to do Trap Bar Deadlifts, but find yourself without a trap bar, I hope one of the alternatives I’ve listed in this guide works well for you.
Finally, If you’re thinking about buying yourself a Trap Bar for your home gym then you may find these other guides helpful – How Much Does a Trap Bar Weigh and How Much Does a Trap Bar Cost.

