11 Best Hammer Strength Row Alternatives For a Jacked Back
Hands down, my all-time favorite machine in a weight room is the Hammer Strength Iso Row. Using a Hammer Row Machine allows you to work heavy while keeping your torso supported, alleviating strain off the low back.
However, there may be situations where you need an alternative for Hammer Strength Iso Rows.
The most obvious reason is that you don’t have access to a Hammer Iso Row Machine. However, maybe you just want to add some variety to your training program.
Whatever the reason, if you need some Hammer Strength Row alternatives, you’re in the right place. I’m going to share with you my 10 favorite substitutions and hopefully, at least one is a good fit for you no matter your equipment or circumstance.
This article contains affiliate links. If you buy something using these links I may earn a commission. Thanks.
Alternatives for Hammer Strength Iso Rows
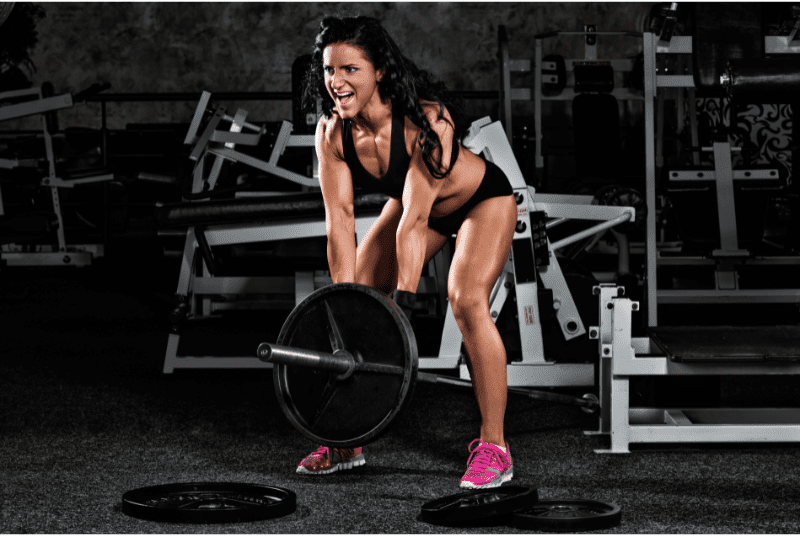
Barbell Bent Over Row
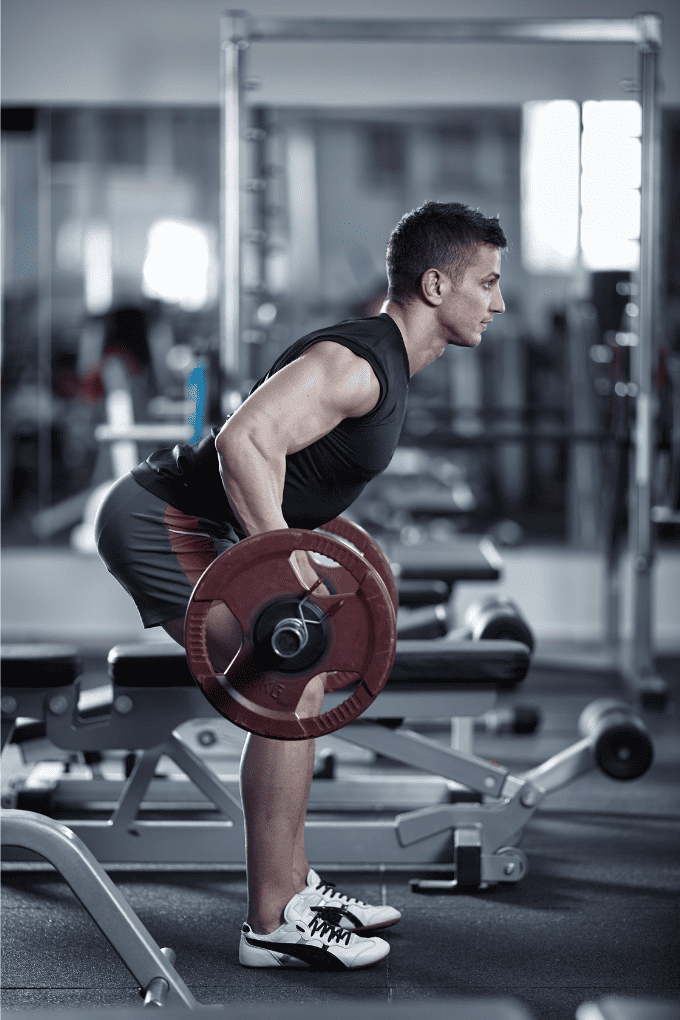
My first Hammer Strength Row alternative is the Bent Over Barbell Row. It’s one of the best movements for developing a strong back and all you need is a barbell and some plates.
Step-by-Step Instruction
- Approach the barbell and take a shoulder-width stance. Your shins should be almost touching the barbell.
- Hinge at the waist and bend the knee until you can grab the barbell. Use a pronated grip (Knuckles facing the floor). I will talk later about the supinated grip (palms up) in this movement.
- Always keep a flat back, and a neutral spine, and keep your eyes focused slightly down about 1 foot in front of you.
- Take a deep breath, brace the abdomen, and pull the bar in until it makes contact right about the belly button.
- Pause for about 1 second. Squeeze the shoulder blades and lock in the rep.
- Slowly return the barbell back to the starting position (weights about 1-2 inches off the ground).
Coaching Points
The initial setup and stance for Barbell Bent Over Rows should be specific to the lifter’s deadlifting and/or Olympic lifting goals. Having identical setups and grips will be great for the lifts to carry over to the compound movements.
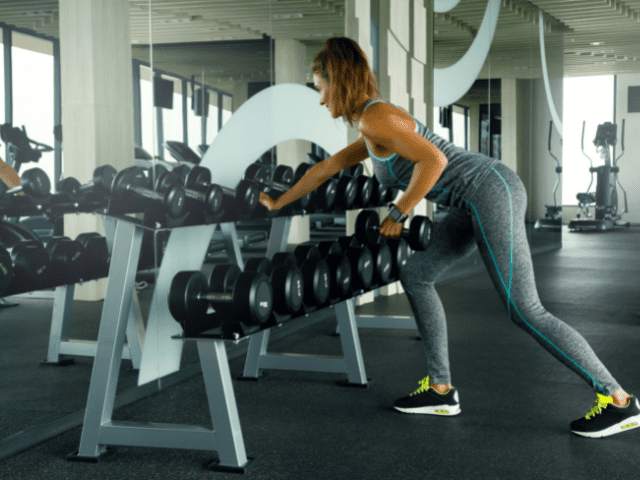
Dumbbell One Arm Row
Step-by-Step Instructions
- Grab a dumbbell and a bench*.
- Place the dumbbell next to the bench and set yourself up.
- If rowing with the right arm, place the left knee and left hand on the bench. Keep the right foot flat on the ground.
- Make sure the back is flat (neutral) to slightly arched.
- Brace the core and pick the dumbbell up.
- Row the dumbbell up, keeping the elbow close to the body as the dumbbell raises.
- Squeeze the back at the top of the rep and then lower the dumbbell down until the arm is fully extended.
- Repeat for the designated number of reps and then switch sides.
*One Arm Rows do not have to be done with one knee on a bench. You can keep both feet flat on the ground and lean forward and brace yourself with your off-hand on something sturdy. You can even lean your off forearm on your leg for support if necessary.
Coaching Points
The most common mistake I see my athletes make when doing One Arm Rows is not maintaining a flat back. The back should stay engaged and slightly arched – similar to the starting position of a Power Clean. Do not let the back round as this can cause unnecessary stress on the spine.
Inverted Rows
Inverted Row is a bodyweight exercise that works the same muscles as a Hammer Strength Row. Don’t let the fact that they’re a bodyweight exercise fool you, Inverted Rows can be a lot more challenging than they look.
It’s also easy to adjust the difficulty of an Inverted Row. You can bend your knees and make them very beginner-friendly or elevate your feet on a stability ball for an extremely difficult movement.
Step-by-Step Instructions
- Start by placing a bar on the rack about waist height.
- The higher the bar is placed, the easier the rows will be. The lower the bar is placed, the harder the rows will be. (Just make sure to leave yourself enough room to fully extend your arms at the bottom of the rep)
- Set the bar on either the J-Hooks or the Safety Bars
- Lay down underneath the bar.
- Grab the bar with an overhand grip, brace the core and make sure your body is fully extended – including your legs.
- You should be positioned to where when you pull yourself up towards the bar, the bar touches the same spot on the chest as it would for bench press. Slide up or down to adjust accordingly.
- Now, keeping your body in a straight line, pull your chest up to the bar and lower back down until your arms are fully extended.
Coaching Points
Athletes I coach love to either pull their faces to the bar or even raise their chin up and over the bar like a pull-up. These are both wrong.
You should think of the Inverted Row as a reverse bench press. Keep your head back, chest out and pull your chest directly to the bar. Pull the shoulder blades down and back at the top of the rep and squeeze the back.
TRX Rows
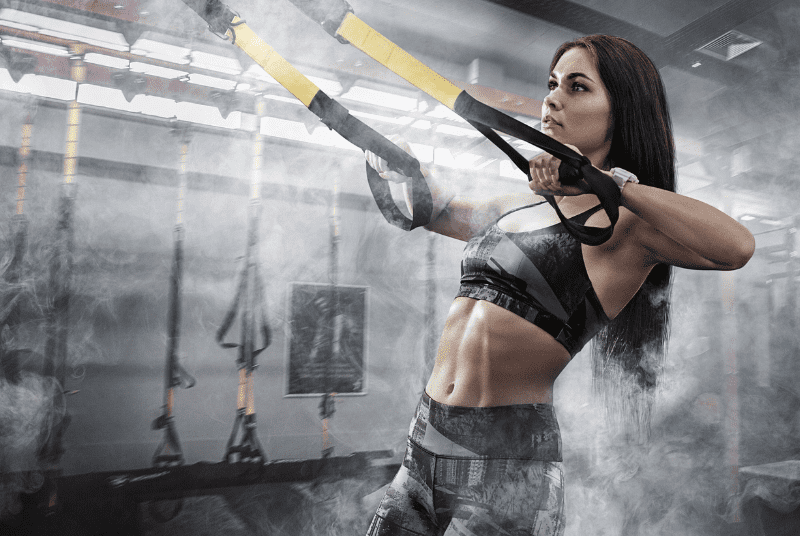
TRX Rows, or Ring Rows if you have a set of gym rings, are very similar to Inverted Rows. It’s primarily a bodyweight exercise where you can increase or decrease the difficulty of the exercise by changing the angle at which you work.
Step-by-Step Instructions
- Start by setting up a TRX Strap on a sturdy anchor point.
- The higher the handles are placed, the easier the rows will be. The lower the handles are placed, the harder the rows will be. (Just make sure to leave yourself enough room to fully extend your arms at the bottom of the rep)
- Lay down underneath the handles.
- Grab the handles, brace the core and make sure your body is fully extended – including your legs.
- You should be positioned to where when you pull yourself up towards the handles, your hands end up beside the top of the stomach, bottom of the chest. Slide up or down to adjust accordingly.
- Now, keeping your body in a straight line, pull your chest up to the bar and lower back down until your arms are fully extended.
- Repeat until all reps are completed.
Coaching Points
There are two common mistakes that I see all the time when it comes to TRX Rows.
One, athletes I coach love to either try to pull their faces to the handles or even raise their chin up and over the handles like a pull-up. These are both wrong.
You should think of the TRX Row as a reverse bench press. Keep your head back, chest out and pull your chest directly to the bar. Pull the shoulder blades down and back at the top of the rep and squeeze the back.
The second mistake I see all too often is tired athletes that start to look like they’re doing the worm. They start rocking and rolling their entire body to try to get their chest up to the handles. Don’t do this! Maintain a rigid body posture and continue pulling yourself as high as you can each rep.
TRX Row is sometimes referred to as Inverted Row and/or my personal favorite, Aussie Pull-up. If you see one of those names in a program or workout, they are most likely referring to the same exercise.
Landmine Row
Step-by-Step Instructions
- Setup your landmine attachment.
- Load the open end of the barbell with the desired amount of plates.
- Grab the barbell toward the plate side using your hands or a cable attachment.
- Use a shoulder-width stance, bend the knees, braced core and flat back.
- Pull the plates up off the floor and begin rowing by pulling the bar toward you.
- Most often you will be able to row until the weight plates touch your chest.
- Control the eccentric portion of the lift back to arms extended and repeat.
Coaching Points
Using a cable attachment for Landmine Rows has its pro and cons. It makes the setup more comfortable and convenient to row, but if you place metal straight on your barbell it can scratch it up. Keep that in mind if you’re planning on using one.
Tired of coming up with your own workouts? But don’t want to pay an arm and a leg?
I post workouts 5 days a week right here. (Did I mention they’re free?)
T-Bar Rows
Another machine that does an excellent job of developing the upper back is the T-Bar Row machine. If you have access to one, especially one with chest support, they are almost an exact replacement for Hammer Strength Row.
How To
- Set yourself up on the T-Bar Row Machine*
- Feet should be flat on the platform and the chest supported on the pad.
- Grab the handles, brace the core and unrack the bar.
- Make sure your posture is good and then row the bar toward your chest.
- Lower back down under control and repeat until all reps are complete.
- Once all reps are down, re-rack the bar into its rack.
Coaching Points
*Exactly how you set yourself up will vary dependent upon the machine. Not all T-Bar Row Machines are exactly the same.
By far the biggest mistake I see with T-Bar Rows is athletes I coach think that because there is a pad to support their chest, they don’t need to have good posture. This is wrong. You should still have the same posture – back and core engaged – as you would if you didn’t have a pad supporting you.
Chest Supported Rows
If you don’t have a Hammer Strength Row machine (or a T-Bar Row machine), then you may be able to create your own setup with an adjustable bench and dumbbells.
Chest Supported Rows can be a little more awkward than their machine counterparts, but they can be done with equipment that most of us have available.
How To
- Set up an adjustable bench at a 45-degree angle.
- Lay on your stomach with your head hanging just above the edge of the bench.
- Grab a dumbbell in each hand and set up with a good posture – core and lats engaged and shoulders neutral.
- Row the dumbbells toward the top of the stomach and squeeze the back at the top of the rep.
- Finally, lower the dumbbells back to the starting position and repeat until all reps are completed.
Coaching Points
Make sure to maintain good posture while doing Chest Supported Rows. Oftentimes I see athletes who allow their shoulders to slouch forward and drape over the edges of the bench.
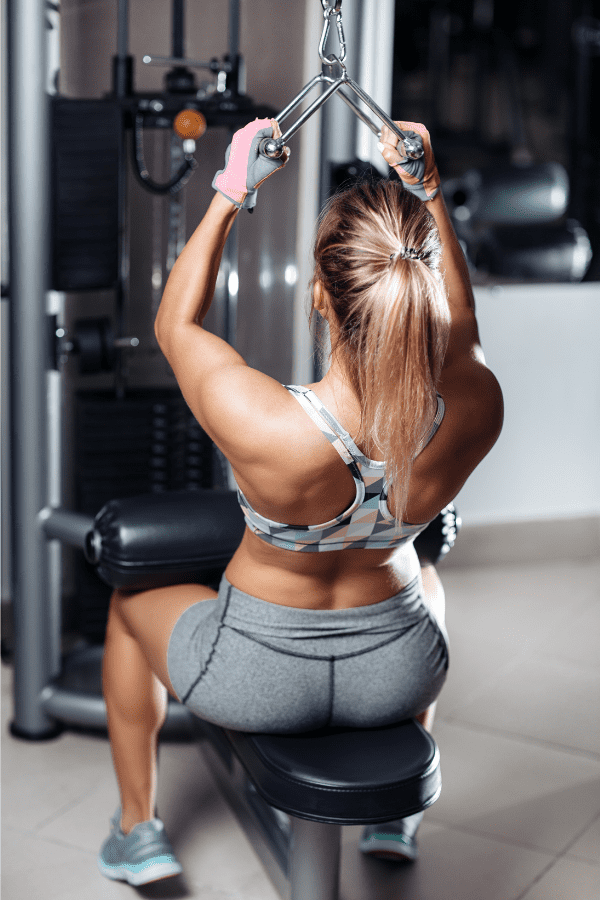
Close Grip Lat Pulldowns
Step-by-Step Instructions
- Depending on the machine or attachment that you’re using the setup may be a bit different.
- Regardless of the setup, try to position your torso predominantly upright with a very slight lean back.
- Now, pull the handle down to your chest, squeezing the lats hard at the bottom.
- After a quick pause at the bottom of the rep, slowly bring the bar back up to the starting position.
Coaching Points
Stay in control of the weight. By far the most common mistake I see lifters make is using way too much weight and rocking and swinging all over the place to try to get the weight to move.
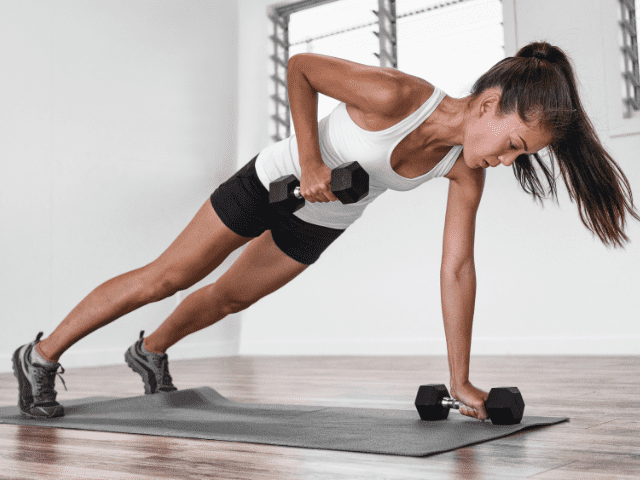
Renegade Rows
Instructions
- Grab one dumbbell in each hand and assume a pushup position with feet about shoulder width apart.
- Make sure the core is braced and row one dumbbell up.
- Lower the dumbbell under control and return to the starting pushup position.
- Alternate rowing each arm until all reps are completed.
Coaching Points
Try to limit rotating the torso as much as possible when doing Renegade Rows. It’s natural to want to open the torso toward the side of the arm you’re rowing with – try to fight against this and stay as square as possible.
The wider your feet, the easier it is to stay balanced while you perform the movement. Try to keep feet about shoulder-width apart.
Seated Cable Row
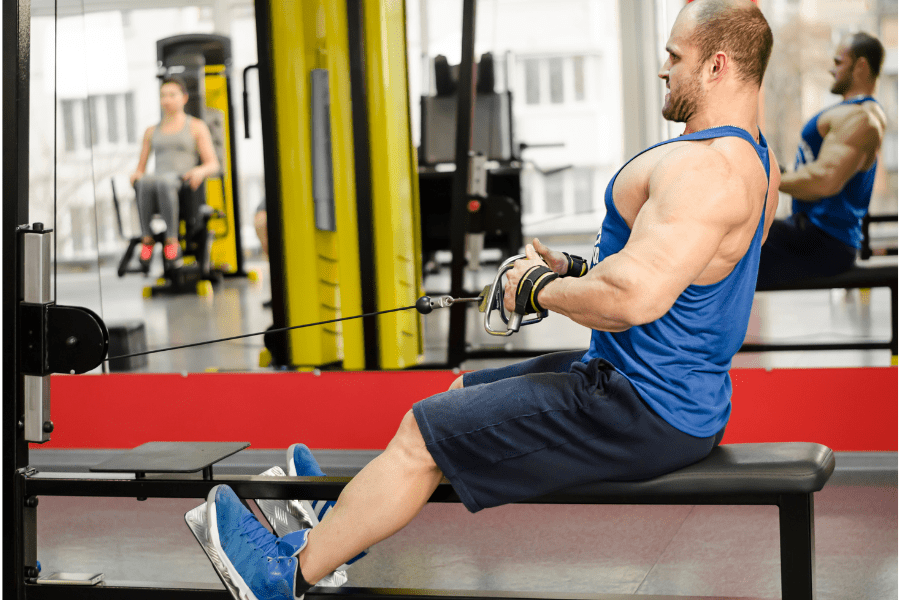
The Seated Cable Row is another horizontal row for the upper back that uses a cable machine. It very closely mimics the Hammer Strength Row and can make a great alternative.
How To
- Begin by setting up a cable machine with the desired weight. Adjust the seat of the machine so that it is at a comfortable height for you to sit on.
- Sit on the bench and plant your feet firmly on the ground (or foot plate). Grasp the handle attached to the cable with an overhand grip, making sure that your arms are extended straight in front of you.
- Engage your back muscles and pull the handle towards your body, bringing your elbows back as far as you can. Keep your chest up and your back straight throughout the movement.
- Hold the contracted position for a moment, then slowly return to the starting position.
- Repeat for the desired number of reps. Make sure to breathe evenly and keep good form throughout the exercise.
- When you are finished, carefully release the weight back onto the stack and return the handle to its starting position*.
Coaching Points
*Don’t be the person that just lets go of the handle at the end of your set and allows the weight stack to just come crashing down. It just tears up the machine.
Keep your core braced and maintain a static upright posture. Don’t confuse Seated Cable Row with a rowing machine. You shouldn’t be rocking back and forth through the movement.
Chin-Ups

Step-by-Step Instruction
- Approach the pull-up bar and grab the bar with a supinated grip (palms facing toward you).
- Use a bench to get to the bar if it is too high.
- Squeeze the bar and engage the core muscles and do not cross your legs.
- Engage the upper back and pull up until your chin is over the bar.
- Pause for 1 second with your chin over the bar.
- Slowly lower yourself back to the starting position.
- Repeat until all reps are completed.
Coaching Points
By far the biggest mistake I see in the Chin-up is lifters not using a full range of motion. Hang all the way down and maintain great tension through the shoulders and abdomen (DO NOT JUST HANG IN THE BOTTOM). Pull all the way up and do not whip your head so that your chin barely makes it over the bar.
Get Shredded… For Free
Get a free workout Monday through Friday, posted right here on Horton Barbell. These workouts are designed to help you get strong, in shape and look great at the beach!
Final Thoughts
I love Hammer Strength Iso Rows as an exercise to develop a big, strong back, but sometimes Hammer Rows just aren’t an option.
Whether you’re lacking proper equipment or are just looking for a different movement to add some variety to your program, I hope at least one of these alternatives I’ve listed here is a good fit for you.