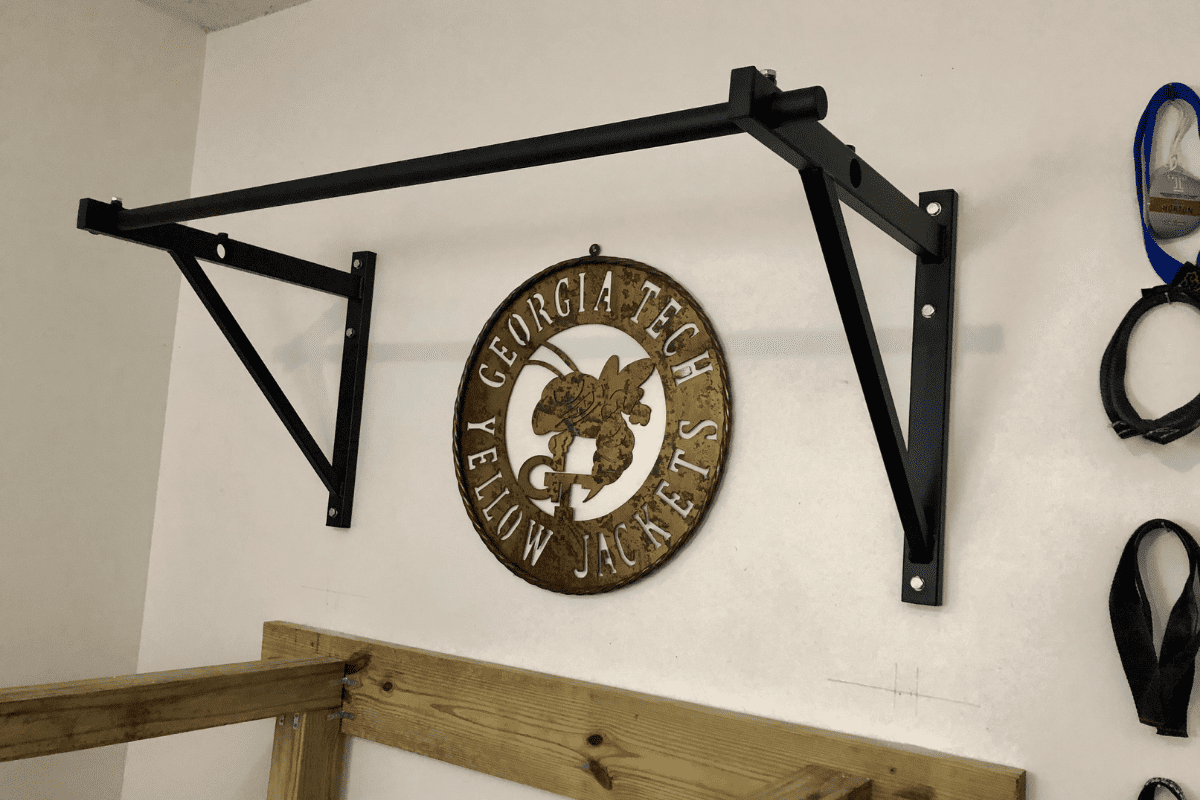
How to Install a Wall Mounted Pull Up Bar (Complete Guide w/Pics)
A pull-up bar is an essential item for any garage gym. After all, pull-ups are the single most effective upper-body lift you can do. (Yes, that includes Bench Press) Last week I received my Titan Wall Mounted Pull-Up Bar in the mail and installed it in my garage gym.
In this article, I’m going to walk you through exactly how to install a wall mounted pull-up bar for your home gym.
I’ll explain how to know where to place it within your room, what height to place it on the wall and, most importantly, how to make sure it doesn’t rip your wall out. I’m adding in pics as we go to help you out along the way.
Follow this pull up bar installation guide and you’ll be doing pull-ups in less than an hour. Assuming, of course, you already have your bar. If not, you’re going to need some really fast shipping.
Last thing before we get started – I bought a Titan Wall Mounted Pull-Up Bar and that’s what I’ll be installing. However, the large majority of this guide should apply to almost any wall-mounted bar, including other gym equipment companies or even a DIY wall mount pull bar.
This article may contain affiliate links. If you make a purchase through one I may earn a commission.
Let’s get started!
How to Find the Best Place to Install Your Pull-Up Bar
Exactly where you place your pull-up bar is ultimately going to come down to personal preference. However, there are a couple of things to keep in mind when deciding where the best place for you is:
- Do you perform other lifts, specifically overhead lifts that will clash with where you put your bar? Placing a pull-up bar above a rack or squat stand is a popular choice and makes sense for most people to maximize space. Just make sure you’re not handcuffing some of your other movements.
- What “lives” below where you’re going to install your bar? If you have to move a bunch of stuff out of the way every time you’re going to do pull-ups, one of two things is going to happen. Either you’re going to curse yourself every time you have to move your plyo boxes out of the way or worse, you’re going to talk yourself into not doing the pull-ups at all. Don’t put yourself in that position if you can afford it.
What is the Best Height for a Wall Mounted Pull-Up Bar?
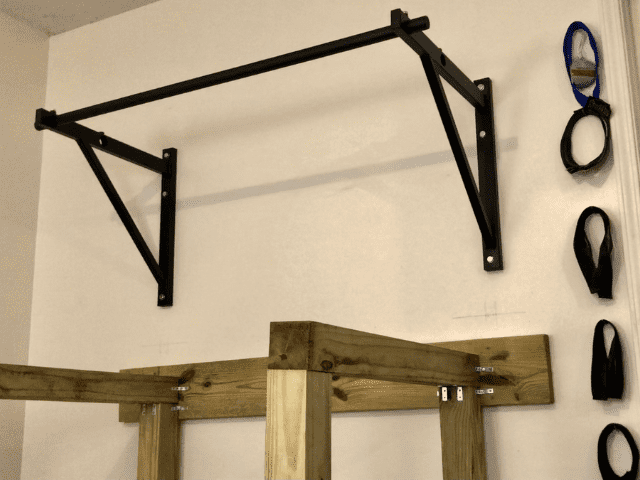
Ideally, your pull-up bar should be at a height where you can reach the bar by raising up onto the balls of your feet. In a perfect scenario, your ceiling is then still high enough to have room above your bar to perform any movements you’re going to want to do.
Obviously, you need enough room to get your head above the bar for pull-ups. Muscle Ups are where it may get tight for some garages.
If you’re limited on height, you have to make the decision of what function is most important for you to get out of your pull-up bar. But, at least by making this decision before you put your first screw into the wall, you won’t end up kicking yourself later.
Tired of coming up with your own workouts? But don’t want to pay an arm and a leg?
I post workouts 5 days a week right here. (Did I mention they’re free?)
How To Mount a Pull Up Bar on Drywall
I should mention that this guide is specifically for how to set up a pull up bar on drywall. If you’re installing on a different surface, say concrete for example, your installation process will be much different.
Find Your Studs
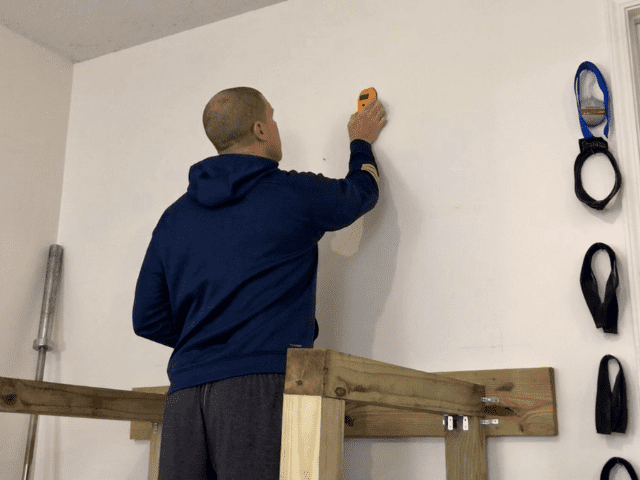
The nightmare situation that concerns most people (and with good reason) when installing a wall mounted pull-up bar is picturing themselves doing a pull-up and the entire wall of their garage comes ripping off. By finding and using the studs in your wall, we can make sure that this nightmare doesn’t become a reality.
To find the studs in your wall, you’re going to want a stud finder. If you don’t already have one, don’t worry, they’re pretty cheap and they are a good tool to always have on hand.
Now, this is important. If you are married, you are obligated to walk up to your significant other with your stud finder. Place the stud finder on your chest, begin making a beeping noise and declare, “Looks like it works!”. They will roll their eyes and call you an idiot every time, but deep down, they’ll think it’s hilarious.
Once you’re done with that it’s time to find the studs in your wall. Studs are almost always spaced either 16″ or 24″ apart. This is helpful information to have to be able to double-check your stud finder. Once you mark your studs with your stud finder, measure them. If the studs you “found” are not either 16″ or 24″ apart, start over and try it again.
Pro Tip: Once you find your stud, use your stud finder both left to right and right to left to find both edges of the stud. This will help you with centering your screws into the studs.
Figure out how wide your pull-up bar is intended to be. Mine has a maximum distance of 54″. To get the pull-up bar to line up nicely with my squat rack I chose the two studs that line up with the sides of my rack (skipping the stud in between them). My studs are 16″ apart so my pull-up brackets are 48″ apart. It’s a perfect setup in my opinion.
Drill The Top Hole
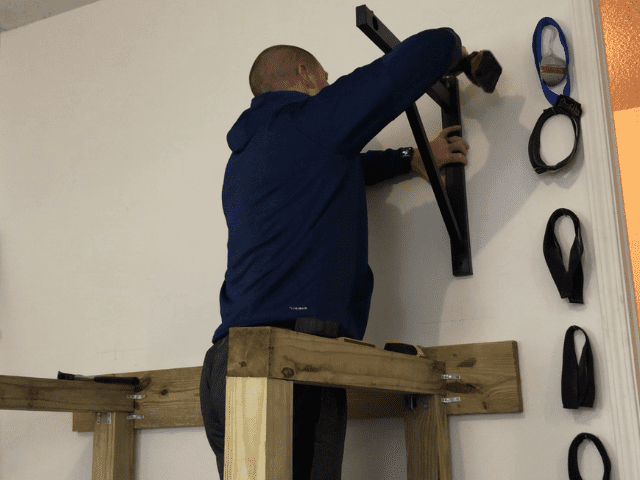
Now that you’ve found your studs, let’s get ready to drill your mount into the wall. My mount came with three drill holes on each bracket. Some might tell you to measure the distance between the three holes, pre-drill each hole and then mount and drill in the bracket.
I chose to pre-drill the top hole only to start. Then I grabbed my bracket, lined it up and drilled in the top hole just short of fully in.
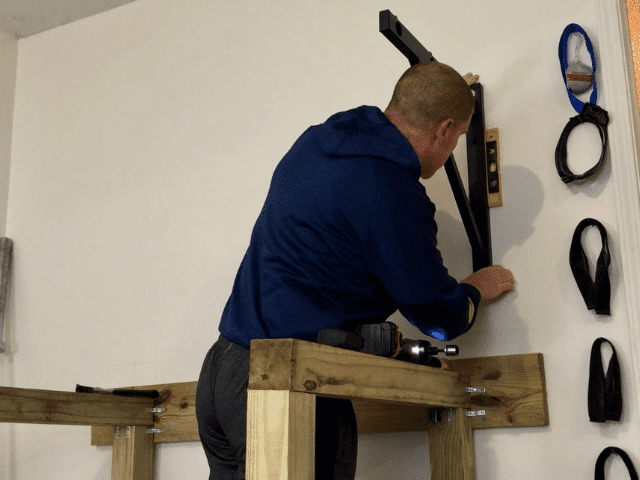
Now, place your leveler on the side of your bracket and make sure it is perfectly vertical. Once you have your bracket straight up and down, hold it in place and pre-drill your second hole. Drill in your second screw and then repeat the process again for the bottom hole.
By doing it this way you can be 100% certain that your holes are going to line up. There is nothing more frustrating than realizing your measurement was off by the smallest of margins but just enough to mess up your install.
Once you’ve finished drilling each screw, use a hand wrench to tighten each one down.
Repeat this whole process for the other side.
Secure the Horizontal Bar
Finally, we need to secure the horizontal bar in place. My brackets had holes for the horizontal bar to slide through. Then it was just a matter of putting two screws through the top of each bracket to secure the bar into place.
That’s a wrap! Our wall mounted pull-up bar is finished.
Test It
I feel like this should go without saying, but I’m going to go ahead and say it. Don’t just jump up and grab your pull-up bar with your hands and hang. Start by applying a little bit of pressure to start to test its ability to hold weight. Stand on a chair if need be.
Continue to add a little more pressure while paying close attention to any signs of your mount being loose or the wall giving way.
Once you’re confident it’s secure, do a full hang from the bar. If it passes every test up to that point, then you can go ahead and hit a few test pull-ups.
Pull-Up Bar FAQ
Is There a Difference Between a Pull-Up Bar and a Chin-Up Bar?
Not at all. The only difference between a Pull-Up and a Chin-Up is grip (pull-up is overhand, chin-up is underhand). So, while this is how to install a pull-up bar it could just as easily be how to install a chin-up bar.
Get Shredded… For Free
Get a free workout Monday through Friday, posted right here on Horton Barbell. These workouts are designed to help you get strong, in shape and look great at the beach!
Final Thoughts
There are many options when it comes to pull-up bar options. Many power racks have pull-up bars built in. There are the over-the-doorway pullup bars that are limited but can work okay if that’s your only option.
A wall mounted pull-up bar, though, is a great option for any garage gym. You can choose the exact place you want to put it, both within your gym and the height on the wall itself. Though it may be a bit intimidating, properly installing a pull-up bar on the wall is not as hard as it may seem.
Stay Strong!

