Front Squat (How To, Muscles Worked, Benefits)
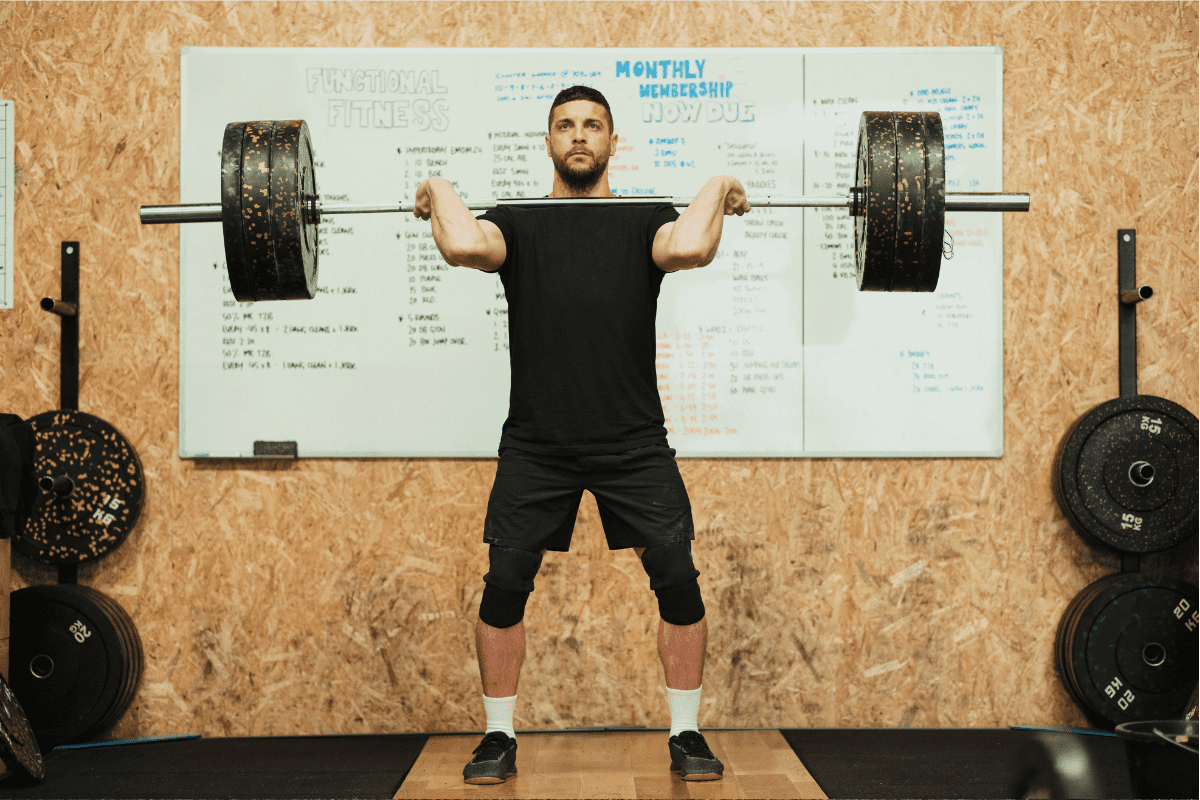
The Front Squat is a foundational barbell lift that targets the quads, glutes, and core while placing the barbell across the front of your shoulders. This upright position puts less strain on the lower back compared to the back squat and requires greater core engagement and upper body mobility.
It’s a key movement for building lower-body strength, improving posture, and developing athletic power.
Primary Muscles Worked: Quadriceps, Gluteus Maximus
Secondary Muscles Worked: Hamstrings, Core, Upper Back (Traps and Lats)
Equipment Needed: Barbell and Squat Rack
How To Do Front Squats
Step-by-Step Instructions
- Set-Up:
- Set the barbell in a rack at chest height.
- Step under the bar and position it across the front of your shoulders, resting on your delts.
- Use either a clean grip (fingertips under the bar, elbows high) or a cross-arm grip (arms crossed, hands on top of the bar).
- Unrack the bar, step back, and stand with feet shoulder-width apart and toes slightly turned out.
- Execution:
- Inhale, brace your core, and begin the squat by pushing your hips back and bending your knees.
- Keep your chest lifted and elbows high as you descend.
- Lower until your hips are at or below parallel, then drive through your heels to return to standing.
- Exhale as you return to the top, keeping tension in your core throughout.
- Tips for Proper Form:
- Keep your elbows high to prevent the bar from rolling forward.
- Maintain an upright torso—this is key for balance and bar control.
- Focus on pushing your knees out and keeping your weight centered over midfoot.
Key Benefits
- Builds strong, muscular quads with a more upright posture.
- Encourages proper squatting mechanics and core stability.
- Transfers directly to Olympic lifts like the clean.
Modifications and Variations
- Easier Option:
- Start with a goblet squat to learn proper posture.
- Use a lighter barbell or training bar if wrist or shoulder mobility is limited.
- Harder Option:
- Add tempo (e.g., 3 seconds down) or pause at the bottom.
- Use front rack holds or carries to build position strength.
- Incorporate into a clean complex for technical development.
Common Mistakes
- Elbows Dropping: This can cause the bar to roll forward. Keep elbows high and upper back tight.
- Leaning Forward: Stay tall through the torso to avoid dumping the bar.
- Poor Wrist or Shoulder Mobility: Warm up and use proper grip variation (clean vs. cross-arm) that fits your mobility.
Reps and Sets Recommendations
- For Strength: 4–5 sets of 3–6 reps with moderate to heavy weight.
- For Hypertrophy: 3–4 sets of 8–10 reps at moderate weight with good control.
- As Olympic Lift Prep: Use 3–5 reps as part of clean or thruster complexes.
Front Squat Variations
Paused Front Squats
Perform the front squat and pause in the hole with the weight for 1-3 seconds (Number of seconds based on training program, periodization, and athlete readiness).
Pin Front Squats
Perform the front squat from a pre-determined starting position height (Height based on training program, periodization, sticking point weaknesses, and athlete readiness)
Safety Bar Squats
Perform the squat exactly as you would for a front or back squat. The safety bar is a unique implement that isn’t exactly like back squatting or front squatting. This implement is great for lifters that want to benefit from squatting but may have a hand injury or struggle with upper-body flexibility.
Front Squat Alternatives
Need an alternative for Front Squats? Here are a couple of exercises you may be able to use as a replacement.
Need more options? Here are 10 of my favorite Front Squat alternatives to develop lower-body strength.
Belt Squat
This requires a belt squat machine. If you have access, this is a great alternative for a lifter that has back pain issues, upper body flexibility issues, or upper body injuries that disallow barbell use.
Goblet Squats

Holding the kettlebell in the front rack (By the horns of the kettlebell) perform the squat pattern. Goblet Squats is a great option for novice lifters learning to squat and perfect their form.
DB Split Squat
Holding dumbbells in both hands, split your feet so that the front foot can stay flat as you squat and the back foot comes up on the toe. Keeping an upright torso, shoulder blades back, and core right, squat down, pause, and drive back up to the start.
This is another great option for a novice lifter looking to gain strength and hypertrophy on a single leg. This is also a great option for an experienced lifter who wants to train a single leg movement and add some volume at the end of a session.
Risks
I would be doing the reader a disservice without discussing the potential risks of traditional barbell squatting. This lift is highly technical and requires a tremendous amount of attention to detail, practice, and a slow gradual increase in weight. An athlete who does not consistently set up the right way and sacrifices form to lift more weight will get hurt.
It is also important to consider rest, recovery, and balancing other life activities.
Because the front squat stresses the entire body and is very hard on the central nervous system, it takes time to recover from a serious front squat session. Field and court athletes should consider what day of the week they are squatting.
If you are going to squat heavy on a particular day of the week, it is not recommended you do any other heavy lower-body lifting, sprinting, or serious competition, until fully recovered. Training history, readiness, and history of injury all need to be considered.
As an athlete, it is important to make sure the lifting in the weight room is correlating and in conjunction with your sport. Rest and recovery are absolutely critical to reap the benefits of any lift and should be taken seriously by all athletes.
More Links and Info
Head over to our Exercise Library to find more Lower Body Lifts, all complete with step-by-step instructions.