How To Use a Squat Rack Like a Pro (Beginner’s Guide)
Whether you just bought a squat rack for your home gym or you want to jump into the squat rack at your local gym, using a squat rack can be an intimidating piece of gym equipment at first.
I’ve been lifting in a squat rack and coaching athletes in squat racks for over 20 years and I’m going to walk you through, step by step, how to use a squat rack.
Using a squat rack safely and effectively relies on getting the rack properly setup for the exercise you’re doing do. Where to place the J Hooks, Safety bars, Barbell and a bench if you’re using one are all key components of a sound setup.
By the time you’re done with this article, you’ll be able to navigate your way around a squat rack like a pro and squat safely. (Even better than some of those “gym bros” who think they know how to use a squat rack)
Parts of a Squat Rack
To be able to properly use a squat rack, we need to first become very familiar with all the different pieces of a squat rack – what they’re called, where they go and what they do.
The Frame
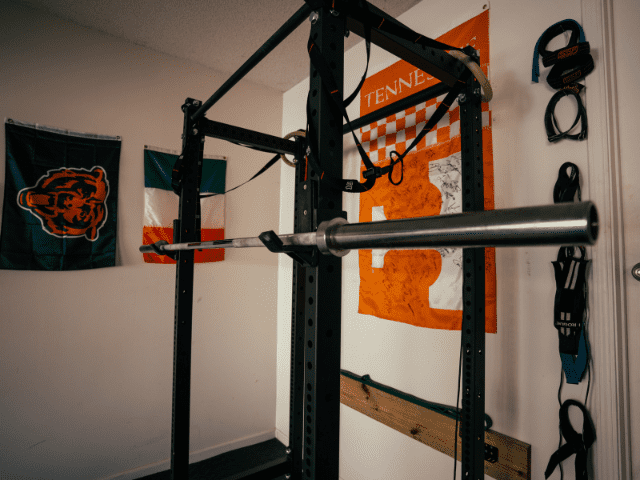
The frame is pretty simple. It consists of all the vertical beams as well as the heavy-duty crossbeams that hold the rack together. Depending on what type it is, it may have four vertical beams, creating a “cage” that you’ll squat inside of – this is what is referred to as a power rack, or full rack.
It could also be what is referred to as a ‘half rack’, which only has two vertical beams (it could have more but those will be storage beams located on the back side) and you’ll perform all of your lifts in front of the rack rather than inside of it.
While you won’t find these at commercial gyms as much as at either a weightlifting gym or a home gym, there is also what’s called a squat stand. A squat stand is essentially just two vertical beams with a spot at the top to rest the bar and that’s pretty much it.
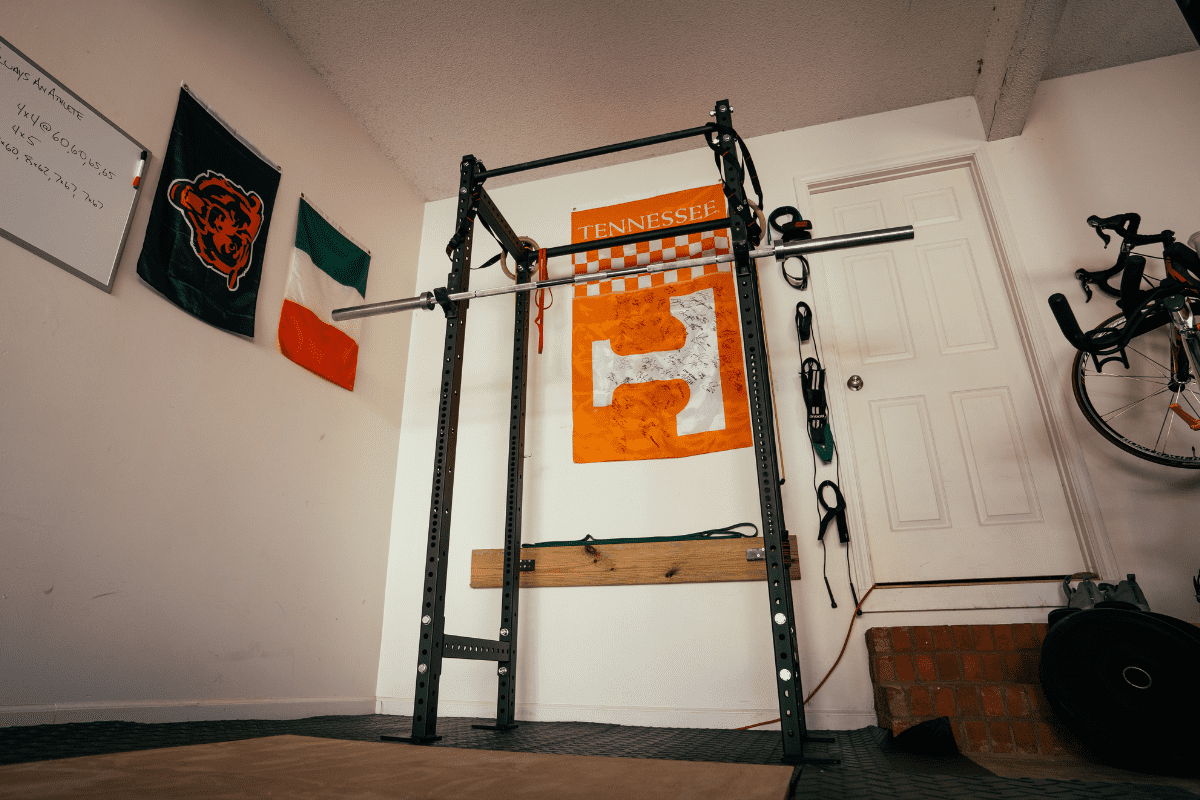
Finally, if you’re particularly handy, you could consider building your own squat rack. I did. Used it for over a year and loved it.
The only thing you need to be aware of when it comes to the frame, especially if you are working out in a home gym is whether or not the frame is bolted to the ground.
Most companies instruct that their racks should be bolted to the ground for safety purposes, so the rack doesn’t tip while you are lifting or racking a weight.
It is possible to lift on a rack that is not bolted down. But, if you’re not wanting to drill holes into your floor then you need to take some other precautions to make sure your rack doesn’t tip, like using weight plates to weigh the rack down so it doesn’t move.
J Hooks
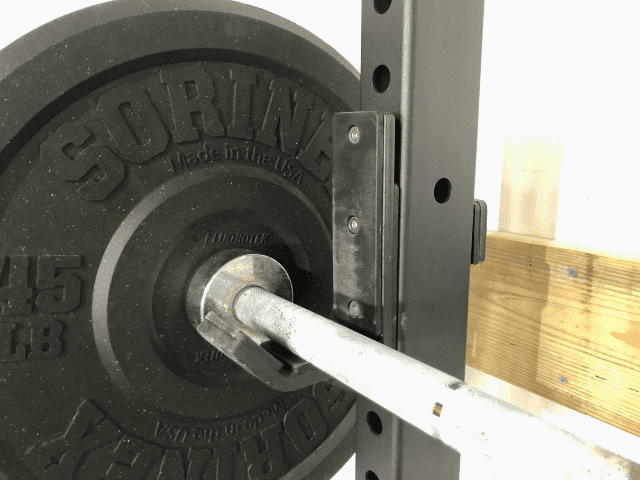
J hooks may sound intimidating, but they’re not. These are the hooks that attach to the rack and are where the bar rests in between sets.
J hooks are called as such, because if you take them off the rack and look at them from the side they look like, you guessed it, the letter J.
The key to using them is getting them set at the proper height for the lift you’ll be doing and making sure that each one is set up at the same height.
For example, if you’re doing squats, you’ll want to place the J hooks at a height a couple of inches lower than the height of the bar when it’s on your back standing up. This allows you to both not have to squat down too low to get the weight off the rack, but not have to tippy-toe either.
If you’re still learning what the best height is for you, start with the bar at about shoulder level and test it out. Then you can make adjustments from there. And while making sure each J hook is the same height seems obvious, it’s actually one of the most common mistakes I see in the weight room from lifters just not paying enough attention.
Safety Bars
Safety bars (sometimes called safety pins) can be a lifesaver if used properly if you ever get stuck in the bottom of a squat. These bars are set horizontally, one on each side of you if you are standing in a power rack, ready to squat. They are designed to ‘catch’ the bar if you have to bail out of a squat.
The height of the bars can be adjusted up and down the squat rack and this is where laziness leads to critical mistakes. Most lifters just do not take the time to adjust the safety pins when they squat. They’re kind of like a seat belt in that regard, many people disregard it until they really, really need it.
But even if the weight is light, you never know when that one time will be when you really need them. You could tweak a muscle, lose balance and even just catch a bad cramp.
The point is, it’s better to have them set up and ready and never need them rather than not have them ready when you do.
When squatting, safety bars should be set up a couple of inches below the bar at the bottom of your normal squat. This way the bars are low enough to not be touched during a regular squat, but high enough to be there in the unfortunate case you really need them.
Bench
If you’re using a rack for Bench Press, Seated Shoulder Presses or any other exercises involving the use of a bench, just make sure that your bench is the proper distance from the starting position of the barbell and square to the rack itself.
Having to reach too far to rack or unrack a loaded bar is a common mistake many lifters make. This can be too far vertically (the j hooks are placed too high on the rack) or horizontally (the bench is too far away from the rack).
Vice versa, starting the bench too close to the rack can cause the barbell to bang into the rack during the lift.
My best piece of advice is to start with an empty bar and do a few practice/warm-up reps to make sure everything is the correct distance. If you’re lifting with a partner, the two of you may have to compromise a bit on where things are set up.
Always remember, you should never have to struggle to reach the barbell back to the starting position. It may be just a small inconvenience on the lighter sets, but can turn very dangerous with heavier weights.
How to Use a Squat Rack
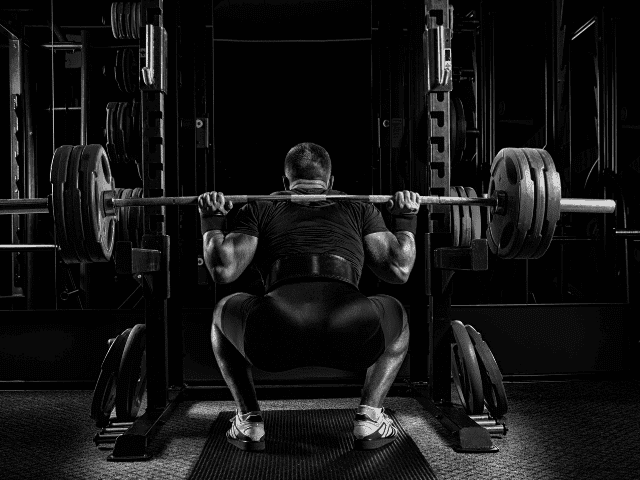
I know we spent a good bit of time going over the different pieces of the squat rack, but in my opinion, that’s over half the battle when it comes to knowing how to use a squat rack properly.
How To Squat in a Squat Rack
Let’s start by focusing on how to use a squat rack for Squats.
Start by setting the height of the bar using the j hooks. If you need to adjust them, most hooks can be moved by simply twisting them to the side and then pulling them out of their hole in the rack. Place them back on the rack in the same manner.
Note: Many squat racks use the twisting mechanism for adjusting attachments, but some may have different ways of moving rack attachments. Some work by twisting, others by lifting up and then sliding out.
If you’re at a commercial gym and you’re using a squat rack that you’re not familiar with, never feel embarrassed if you can’t quite figure out how the attachments adjust. We’ve all been there and it’s not a big deal.
Then, place an empty bar in the starting position. You should never start with a loaded bar. An unloaded bar allows you to get in a few good warmup reps while also checking your setup on the squat rack.
Next, set the height of the safety bars. (They normally can be adjusted similarly as the hooks) If you’re not sure where exactly they should go, place them at about hip level and then check the height when you do your first warm-up set of squats.
Speaking of, your first warm-up set should be with just the bar. Unrack the bar, making sure it’s at the proper height you want, then place your feet shoulder-width and perform a couple of warmup reps with proper form.
Check to your left and right at the bottom of your squat to make sure the safeties are at a good height.
That’s it! You’re all set up to squat in a squat rack.
How To Barbell Lunge in a Rack
Barbell Lunges are another great lower body exercise that squat racks are great to use for.
The setup process is basically the same as it is for squats.
The biggest difference is making sure you have enough room to be able to do the lunges. If it’s a full power rack then you may have plenty of room to do your lunges inside the cage, but if it’s too narrow, simply set your bar up on the front of the rack so you can lunge in open space.
How To Bench Press in a Squat Rack
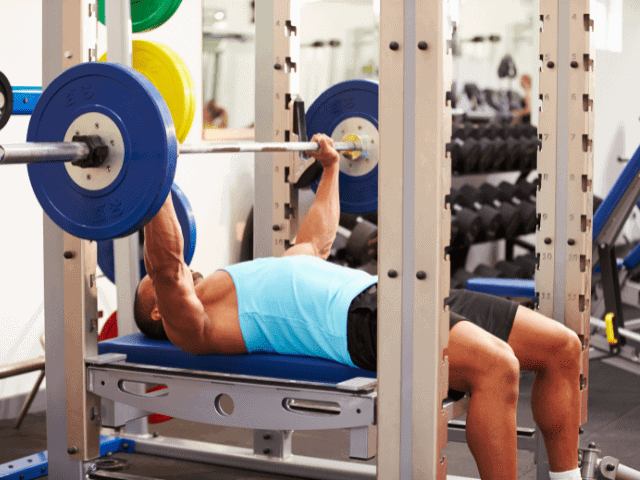
I covered everything you need to know when using a power rack to bench press above in the bench section.
I do want to reinforce a couple of points that are important to keep in mind for bench presses.
Getting the bar set up at the appropriate height and getting the bench the proper distance from the squat rack are the two most important steps. Getting these two things right will eliminate almost all issues you may run into while bench pressing.
Finally, and I know this can be difficult for us home gym owners, you should never bench press without a spotter. Even if the weight is light. You never know when a muscle may tweak and then you can quickly end up in a compromised position.
Standing Overhead Press
One of the other exercises that squat racks are good for is Standing Overhead Press. This is because once you start using heavy loads, it can become a real pain to have to pick the bar up off the floor each time to start your set.
Using a squat rack for shoulder presses is pretty simple. Just place the bar at shoulder height and once you unrack the weight, take a small step away from the rack, hit your reps, take the step back towards the rack and set it back down.
The only thing to be mindful of is if you are in a full power rack, don’t try to shoulder press inside the rack.
A full power rack will have crossbeams above you which you will most likely hit when you try to shoulder press. It’s a good way to feel really stupid, really fast.
Curls
You should never do bicep curls in a squat rack unless you’re at home, in your own rack. Consider this a public service announcement.
Final Thoughts
Squat racks are one of the best pieces of equipment for performing all of your big compound exercises that build muscle and develop strength.
Whether it’s squats, lunges, or overhead presses – there is almost a limitless amount of exercises and muscle groups that you can train.
Learning how to use a squat rack doesn’t have to be intimidating. Get familiar with all the different parts, take your time to get properly set up and get strong!

