
7 Best Power Exercises for Basketball Players
Becoming a more explosive basketball player should be priority number one every off-season. Basketball is a game that is often won and lost based on the speed and explosiveness of the players on the court
A more powerful player will be able to accelerate down the court faster on breaks and jump higher for contested rebounds.
I’ve been training elite-level college athletes for two decades and in this guide, I’m going to give my 7 favorite exercises for developing explosive power for basketball players.
Let’s get right to it.
Power Exercises for Basketball Players
To be clear, these aren’t the only exercises that will build explosive power. There are a ton of Olympic lift variations, plyometrics and medicine ball exercises that, if used properly, can train power.
These particular movements are simply my favorites and exercises that I’ve had the most success with over the years.
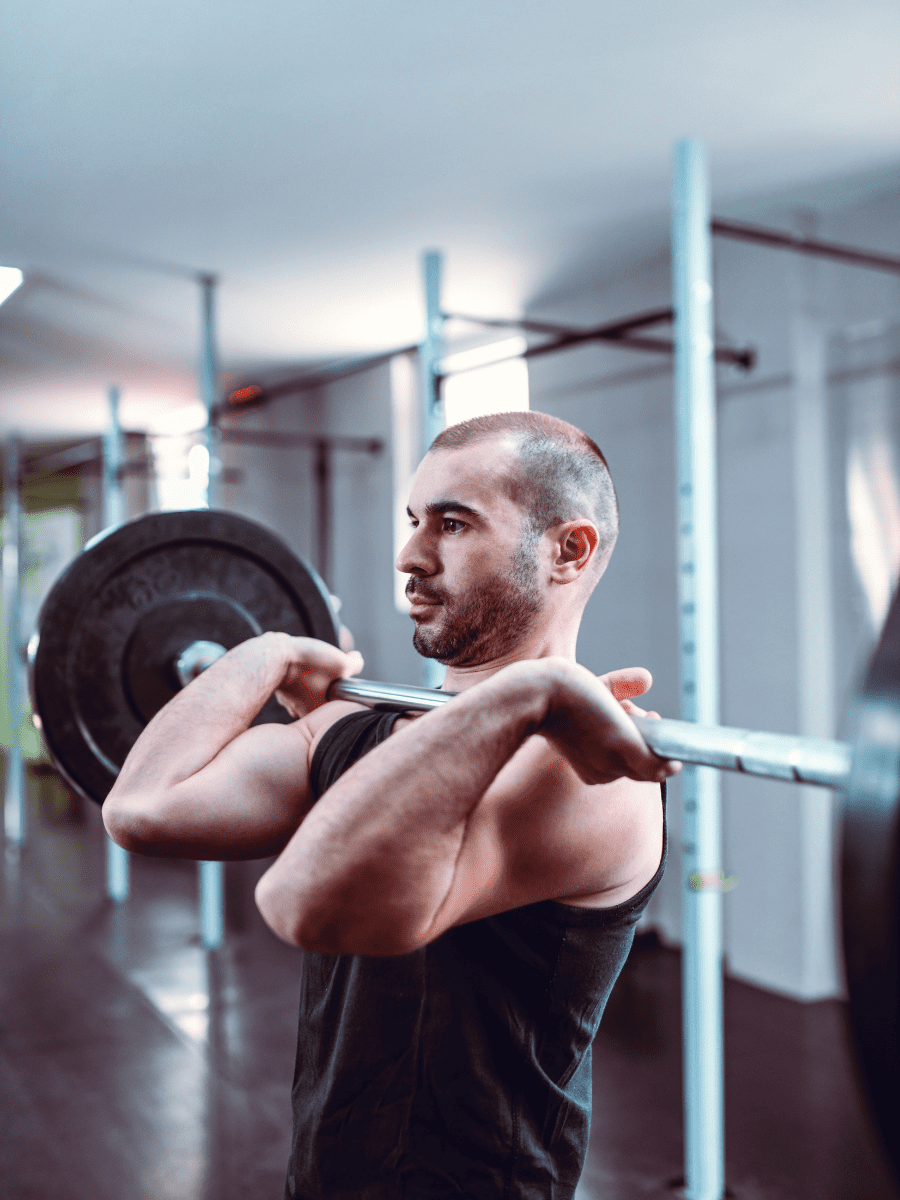
Clean Pulls
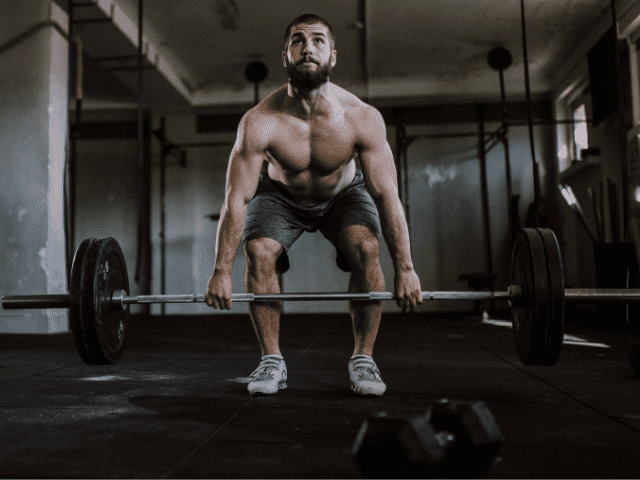
I’m a huge proponent of utilizing the Olympic Lifts to develop power and explosiveness. Within my programming, I will use all kinds of Clean variations – Power Clean, Muscle Cleans, Hang Cleans, Hang Power Cleans, and even Full Cleans.
So, why Clean Pulls? What makes it so special?
First, it’s a little easier to teach. In my opinion, starting from the floor makes the starting position easier to teach than from the hang. Removing the catch removes some technical aspects of the full lift and allows a basketball player to focus on the leg drive.
Second, Clean Pull allows for a full, aggressive triple-extension of the hips, knees and ankles. This triple extension movement is involved in most explosive actions on the basketball court – namely sprinting and jumping – and should be the main focus of almost all power-developing exercises.
Equipment Needed
- Barbell
- Bumper Plates
Step-by-Step Instructions
- Start with feet hip-width apart with toes straight ahead (or ever so slightly pointed out), bar almost touching shins.
- Grip should be slightly wider than shoulder-width.*
- The grip is a pronated grip (both palms facing down).
- The wrists should be slightly curled so that the knuckles are pointed straight down to the ground.
- Shoulders slightly over the bar, arms straight, hips slightly higher than the knees.
- Back should be flat or have a slight arch. Shoulder blades should be pulled back and the upper back including the lats should be engaged.
- The last thing that should happen as the lifter is setting up in their starting stance is to take a deep breath in and engage, or brace, their core.
- Raise the bar off the floor at a constant speed using the legs by driving the feet through the ground.
- Hips and shoulders rise at the same time (torso angle remains constant)**.
- As the bar comes up, keep the bar close to the shins and the feet should remain flat, driving the feet hard into the floor.
- Once the bar crosses the knees, the bar is then pulled explosively, bringing the shoulders back and up.
- From the power position, this is where the final explosive hip extension occurs along with the full extension of the knees.
- The foot drive shifts from the whole foot to now extending up through the balls of the feet.
- The triple extension of the hip, knees and ankles is followed instantaneously by a quick, aggressive shrug.
- Bar is pulled vertically close to the body as the traps shrug to elevate the bar.
- Now, either retrace back to the floor or drop the bar and then reset.
Coaching Points
*An easy way to get your grip in the right position is to place your hands one thumb length away from the start of the knurling of the bar. This width will work for 90% of lifters. Wider athletes may end up sliding their hands just a bit wider and vice versa for narrow athletes, but it’s a good starting point for anyone.
**One of the biggest mistakes with clean technique is that lifters will shoot their butt up first, locking their knees out and then they end up pulling the bar with their back instead of their legs. This is most often caused by lifters trying to rush the first pull too much. Don’t get ahead of yourself.
Hang Power Snatch
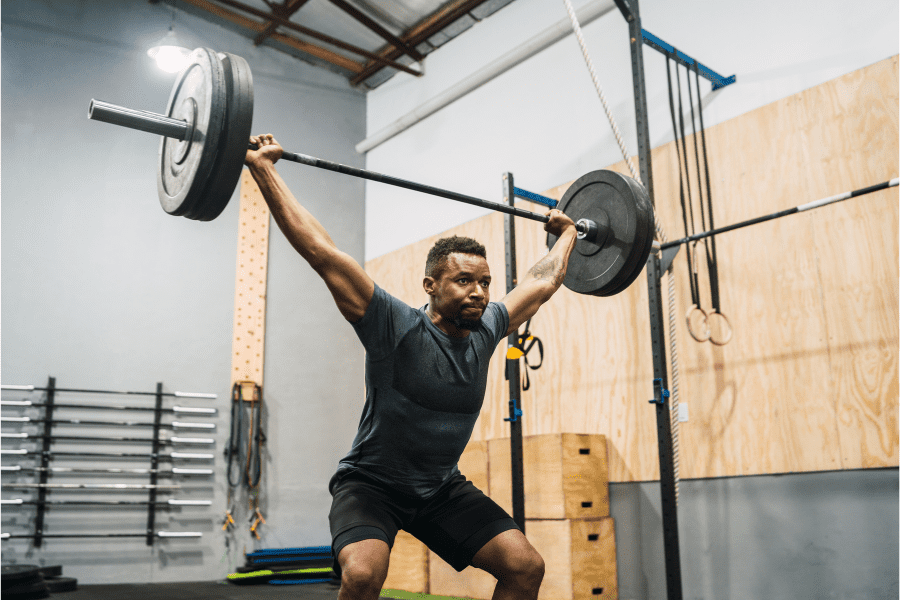
Hang Power Snatches are perhaps the most overlooked and underutilized exercise on this list. I feel like many strength programs, especially at the high school level avoid snatches because of the idea that they are hard to teach.
In reality, Hang Power Snatches are actually easier for athletes to pick up compared to Cleans. This is due to the fact that the catch position – holding the bar overhead with a wide grip – is much less technical than catching the bar in a front rack position.
Hang Power Snatches are also done with less weight which also lends them to be more beginner-friendly.
The combination of a technically-friendly movement and lighter weight allows basketball players to really lock in and move the bar as fast as possible. The faster the bar is able to move, the more power is produced.
Equipment Needed
- Barbells
- Bumper Plates
How To
- Address the bar with feet hip-width apart, toes pointed straight ahead or ever so slightly out. The bar should be resting just above the mid-foot.
- The grip on the bar for a hang power snatch, or any snatch grip for that matter, is wide – placing the index finger on the snatch ring of the bar is a good starting point for most lifters.
- Now, using your legs with a good flat back, lift the bar up to a standing position.
- Slightly bend the knees and push them out. Set the back by engaging the lats and squeezing the shoulder blades back. Eyes straight ahead.
- Hinge forward by pushing the hips back, bringing the shoulders over top of, or slightly in front of the bar. The bar should now be resting on the mid thigh to upper thigh.
- From this position, extend the hips aggressively by driving the feet through the floor and triple extending through the ankles, knees and hips.
- This complete extension should be immediately followed by a violent shrug, breaking elbows high out to the side to allow the bar to begin tracking up. Keep the bar close to the bar as it moves vertically.
- Finish the movement by shifting the feet from hip width to shoulder width, rotating under the bar, dropping the hips down into a partial squat position and arms punch straight into a locked out position with the bar overhead.
Coaching Points
One of the biggest mistakes lifters make is to cut the pull short and not reach complete extension. Don’t be in a rush to pull with the arms as that will cut your power short on the movement.
Medicine Ball Cannonballs
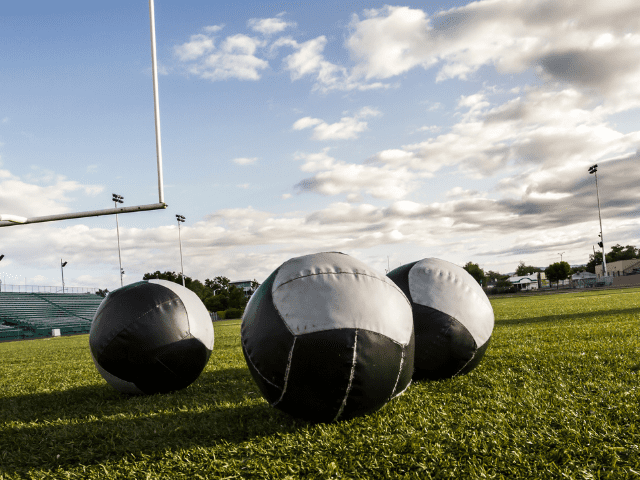
If you don’t feel comfortable with your Olympic lifting technique, don’t worry, there are still plenty of exercises available to you that can develop power. One that I love and use all the time with basketball players is Med Ball Cannonballs.
Cannonballs are essentially taking a Medicine Ball and throwing it as high as possible. It’s the same body position and movement patterns as the Olympic lift variations above, but much more beginner-friendly.
Equipment Needed
How To
- First, make sure you have enough ceiling height to be able to do Cannonballs. I recommend doing them outside to avoid this issue altogether.
- Grab the ball with both hands cradling under the ball. Stand tall, feet shoulder-width apart.
- Pull the shoulder blades back, engage the lats and core, slightly bend the knees and hinge forward at the hips.
- Allow the medicine ball to fall in between the shins.
- You should now be in a good athletic position that looks very similar to the starting position of a Hang Clean.
- From here, explosively drive the feet through the ground and aggressively extend the hips and throw the ball as high as possible*.
- Allow the ball to hit the ground, grab it, then reset and repeat.
Coaching Points
Do NOT try to catch the ball directly out of the air. This is a great way to jam a wrist or a finger. Allow the ball to hit the ground first before grabbing it for the next rep.
*Cannonball Throws can either be done straight up in the air or behind you to a partner. If working with a partner, stand facing away from them and throw the ball at about a 45-degree angle. The goal is to throw the ball as far as possible in the air.
Speed Squat
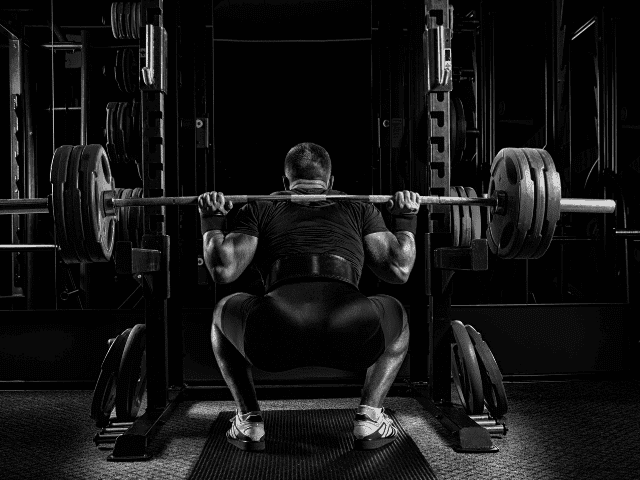
The increasing popularity (and decreasing costs) of devices to measure bar speed has made velocity-based training more accessible.
This means you can take one of the best lower-body strength-building exercises for basketball players and turn it into an explosive movement as well.
If you do have access to a bar speed measuring device, Speed Squats can be an extremely effective exercise for developing power by working in proper speed ranges. (Around 1.0m/s to 1.3m/s)
If you don’t have access to a bar speed measuring device, don’t worry, you can still incorporate Speed Squats into your training. Simply keep the percentages to roughly 50%-60% of your 1-RM and focus on moving the bar as fast as possible while maintaining good technique.
For detailed step-by-step instructions, check out our complete Back Squat Exercise Guide.
Power Jerk
One of my favorite upper body exercises is one that helps develop upper body power and that’s the Power Jerk. It also teaches basketball players how to coordinate their hips and upper body to create as much power as possible.
In my opinion, I don’t know if any other exercise more closely replicates exploding up for a rebound like a Power Jerk.
Like Power Cleans, there are also plenty of Jerk variations to choose from as well. Push Presses, Split Jerks and even Med Ball Jerks are all exercises that can be utilized in a training program.
Equipment Needed
- Multi-purpose lifting rack
- Barbell
- Bumper Plates (I do not recommend Iron plates because if you miss the lift or want to drop the weight to the ground from overhead, you can damage the plates, the bar and your floor)
Step-by-Step Instruction
- Set the barbell at the height you would normally front squat with. (Barbell 1-2 inches below the flexed elbow, still on the hooks).
- Assume your front squat grip also known as the “front rack”.
- Most lifters find that trying to get the barbell to rest more onto the anterior delts will be more comfortable as you attempt the jerk.
- What this looks like is your elbows will point more toward the ground. If you’re gripping the front squat with 2 fingers, you may find it more comfortable to perform the jerk with 3 or 4 fingers.
- To unrack the bar, take a deep breath and brace the abdominal muscles and upper back. Use a staggered stance to unrack the bar.
- Take 2 steps backward and be sure that you will not hit the hooks or anything above your head when you start the movement.
- Initiate the movement with a “dip” or bend of the knee that will help you propel the barbell up with momentum. Do not bend the knee forward onto the toes.
- Think about how you initiate a squat. The knee bend should be very similar to this movement.
- This is a quick movement that helps get the barbell moving upward.
- Explosively drive through the legs and hips, shift the feet from hip width to shoulder width and catch the bar overhead in an athletic position.
- In the catch, your knees will be slightly bent, hips back, and bar stabilized overhead. Stand tall with the weight.
- If you are attempting multiple attempts, lower the barbell back to the starting position, brace, and bend the hips and knees as you receive the weight back in the front rack.
- If you are done with your final attempt, make sure you are using bumper plates, and you can guide the barbell back to the ground. Make sure your lifting area is clear of anyone before you drop the weight.
Coaching Points
The Power Jerk is a compound movement specific to Olympic lifts. This is also a great movement for field and court sport athletes that needed overhead power. This movement should be trained and programmed according to goals, injury history, athlete readiness, and time of year.
Sled Sprints
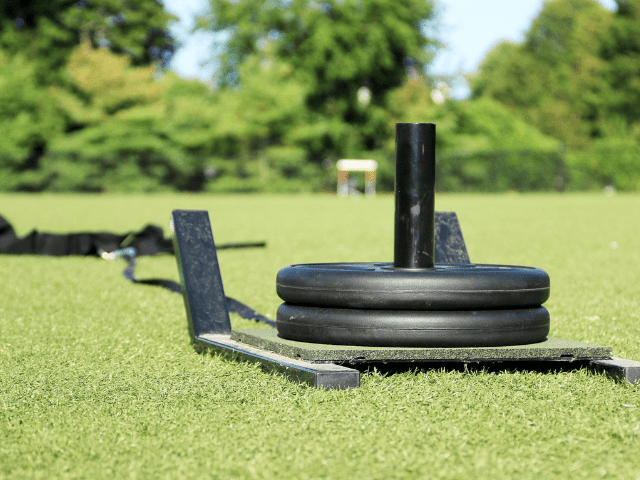
You don’t have to be in a weight room to develop explosive power. In fact, the argument could be made that Sled Sprints might be the most effective exercise on this entire list.
Learning how to apply force into the ground and accelerate is what Sled Sprints are all about. I recommend using between 10 and 25% of the athlete’s bodyweight for Sled Sprints. Keep the heavier reps to shorter distances – 10 to 15 yards. The lighter weights can be used for longer distance sprints, up to around 50 yards.
Bounding
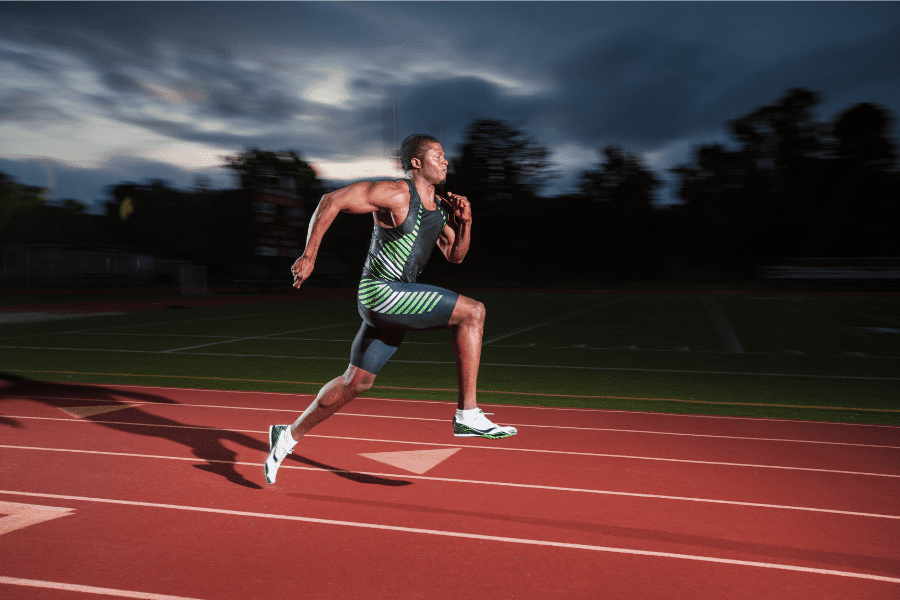
The final exercise of my top seven is an exercise that is representative of an entire category of power-building exercises called plyometrics.
Plyometrics is a group of exercises that involve developing maximal power over a short period of time and is most often associated with jumping movements. Box Jumps, Vertical Jumps and Broad Jumps are all examples of plyos.
Bounding is my favorite for basketball players for two reasons. They require the player to generate a tremendous amount of power to drive themselves forward and they are done on one leg at a time. This combination makes them the best carry-over to the basketball court in my opinion.
Final Thoughts
As a basketball player, working to become a more explosive athlete cannot be understated and hopefully, this guide has helped you get an idea of what exercises you should have included in your training program.
Are these the only seven exercises to develop power? Absolutely not. But, I would highly recommend having most (if not all) of these exercises in your training if you’re able to perform them with good form.
Want more exercise ideas? Here are my 10 favorite exercises for basketball players. (Spoiler Alert: Expect to find a few of these power exercises on that list as well!)